Category Archives: Homeschool

The STEAM Boat

Our journey through the US continues! This week, we are studying Massachusetts.

In the mailbox today, the boys found a note card with a few simple facts about the Mayflower:

  • It was the ship that brought the Pilgrims to America.
  • It docked at Provincetown Harbor in Massachusetts in 1620.

We also talked about how many passengers were on the ship and how long the voyage took.

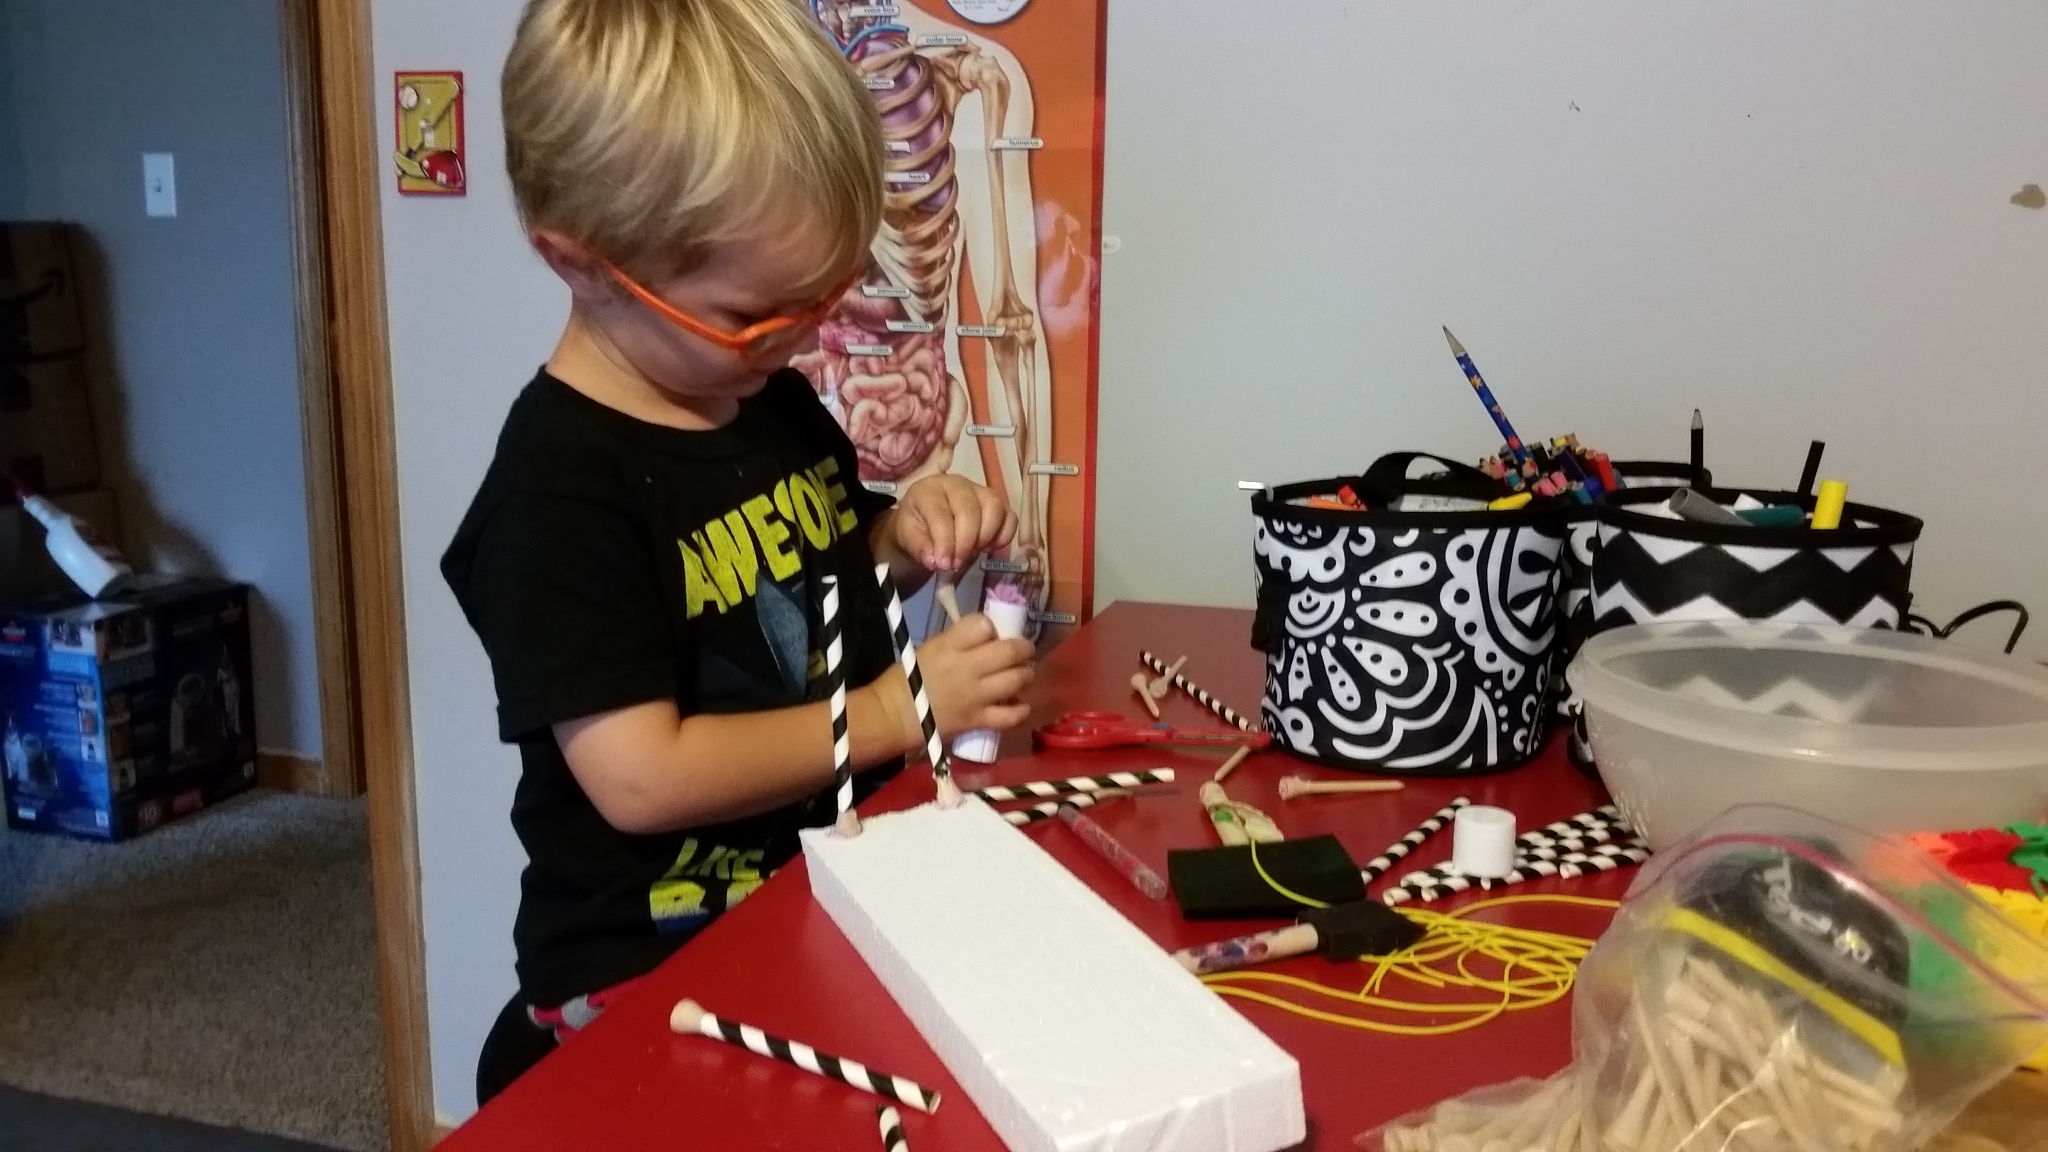
Under the notecard, there were two baggies with instructions and materials to build their very own version of the famous ship.

wp-1474393857542.jpg

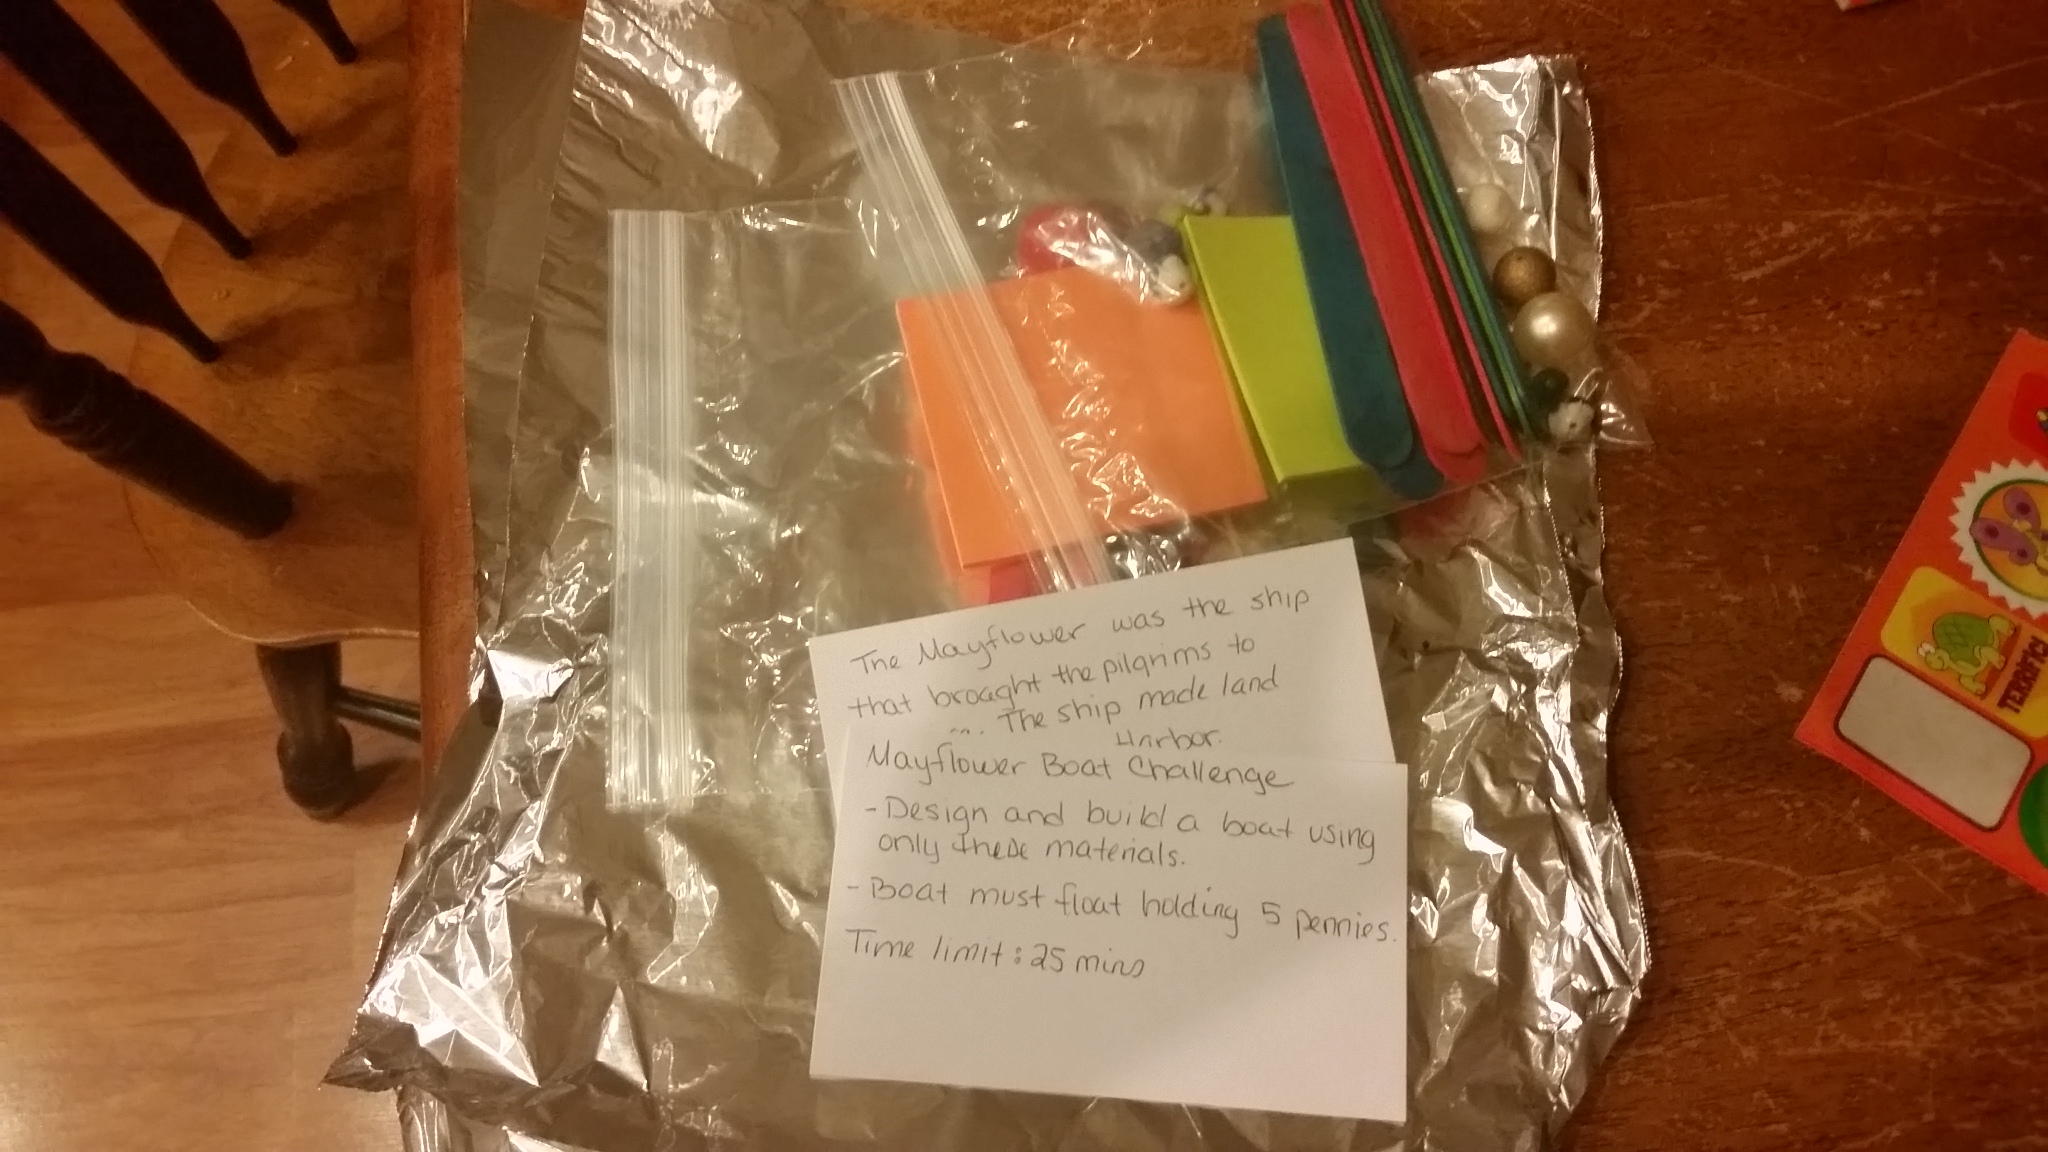
The materials were simple:

  • 1 piece of tinfoil
  • 5 post-it notes
  • 10 popsicle sticks
  • 5 beads
  • 5 toothpicks

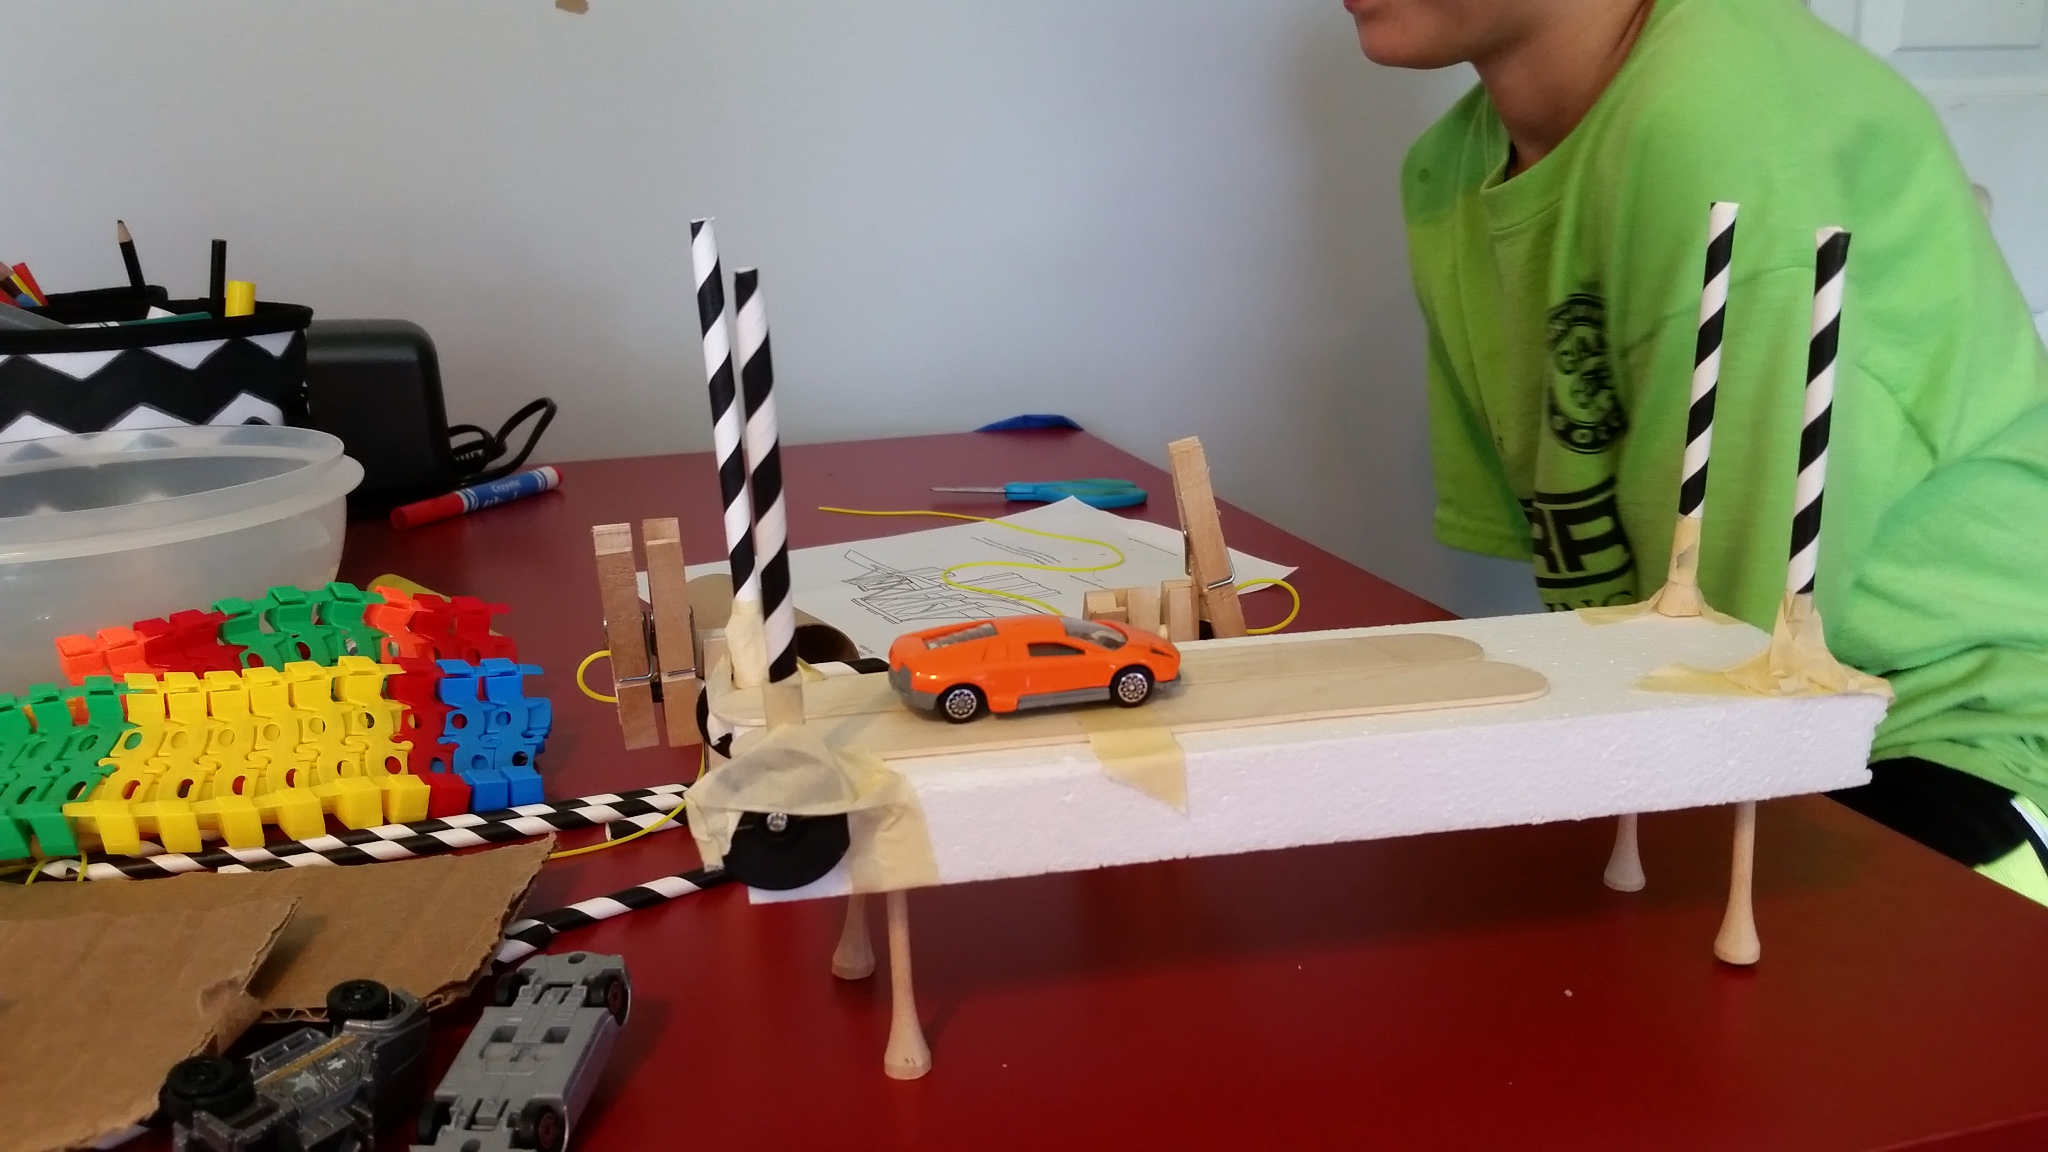
They were given 25 minutes to create a boat that would float holding 5 pennies. They could use only the materials listed above.

Jake: I need glue.
Me: No, you can only use the materials in front of you.
Jake: Ok, can I use a stapler?
Me, with a chuckle: Nope.

They had their materials and their mission, so I went into the kitchen to set the timer and wait.

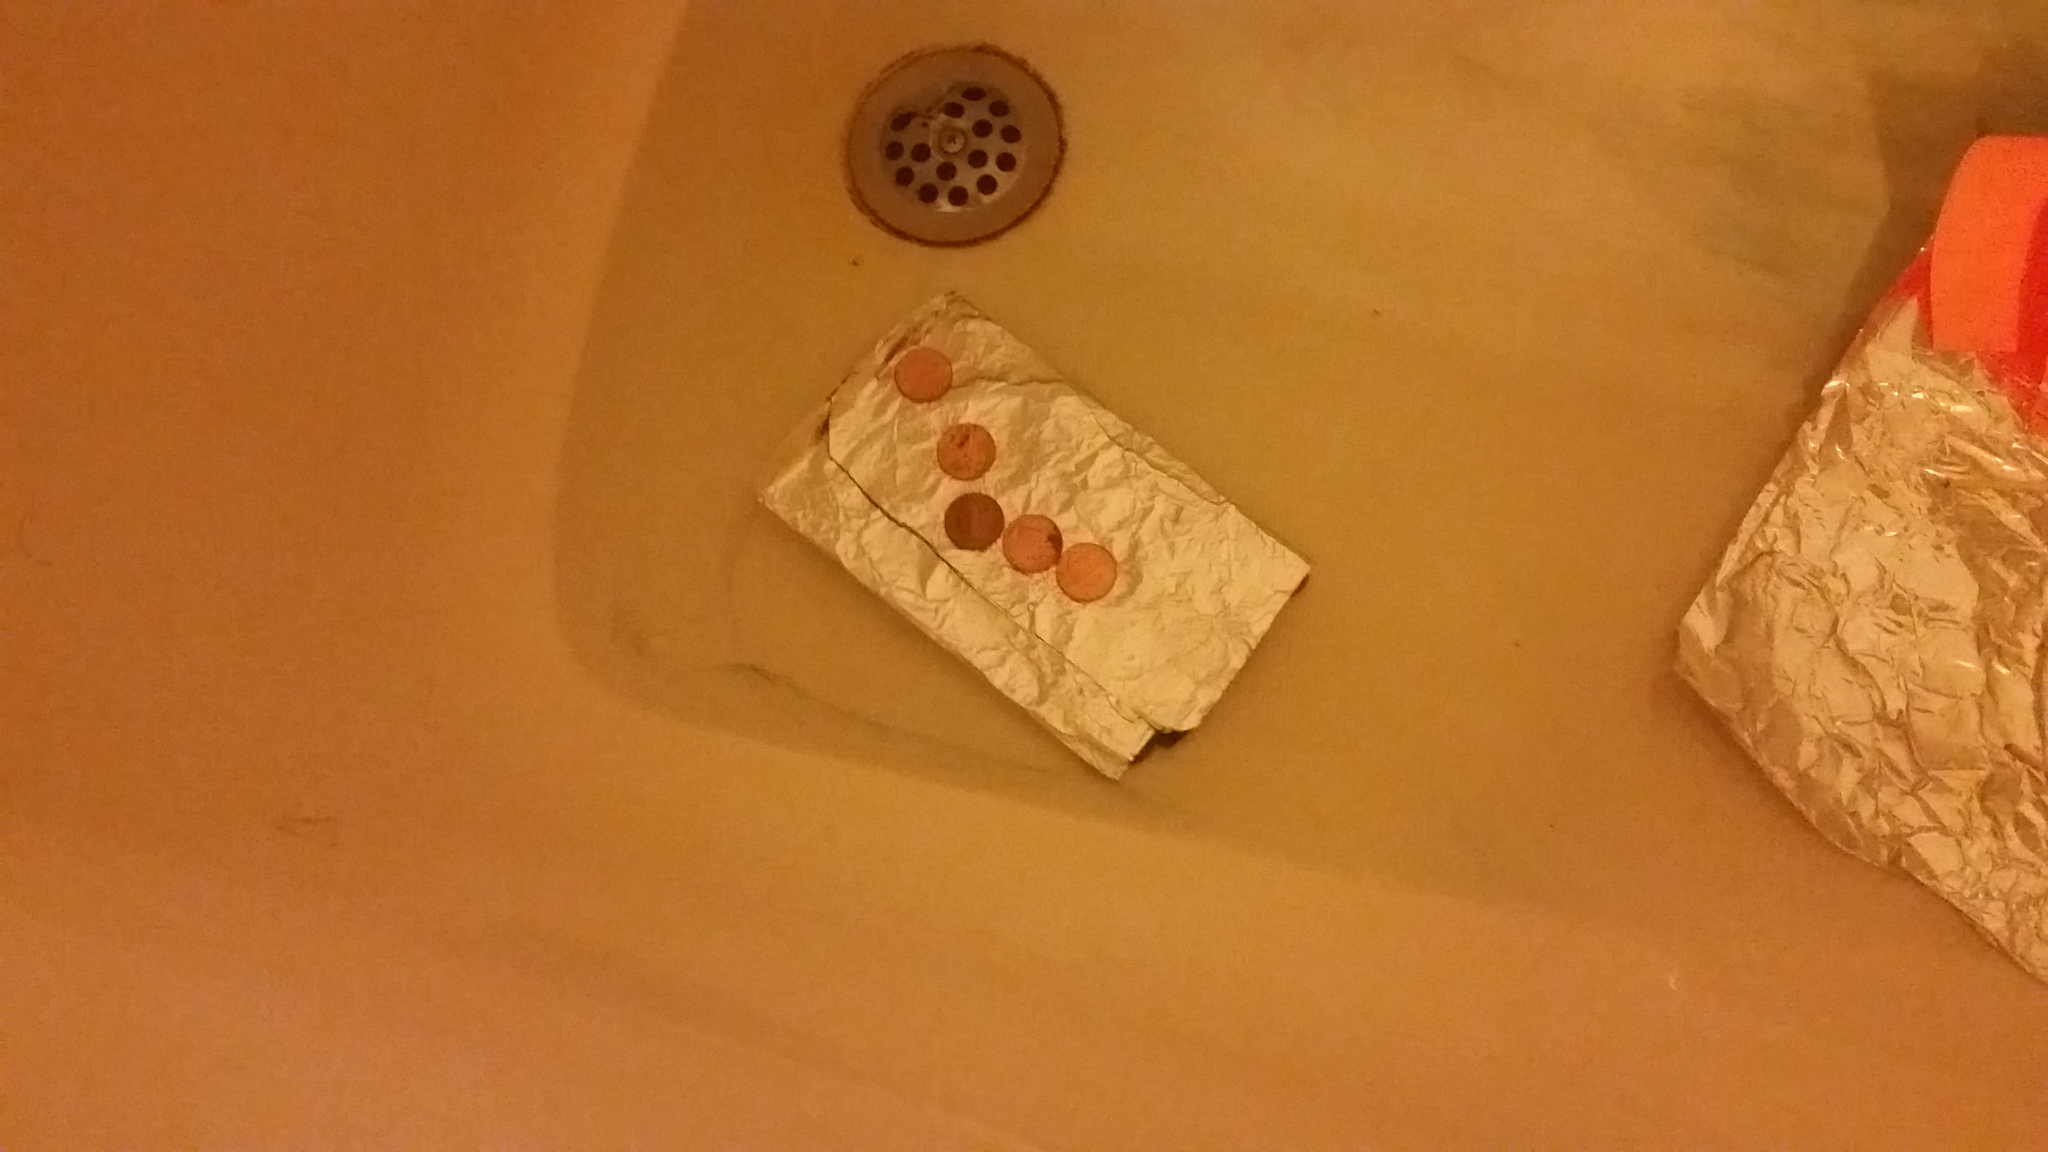
After about 15 minutes, Joe was done.

wp-1474396475891.jpg

“I need a container with water Mommy.”

His ship was big. He’d used the whole piece of tinfoil so we decided to fill the bathtub to see if she would float.

Success!

Using a little critical thinking and imagination, he was able to build the ship and make it float.

wp-1474396235950.jpg

Joe used the foil, post-its, beads and toothpicks.

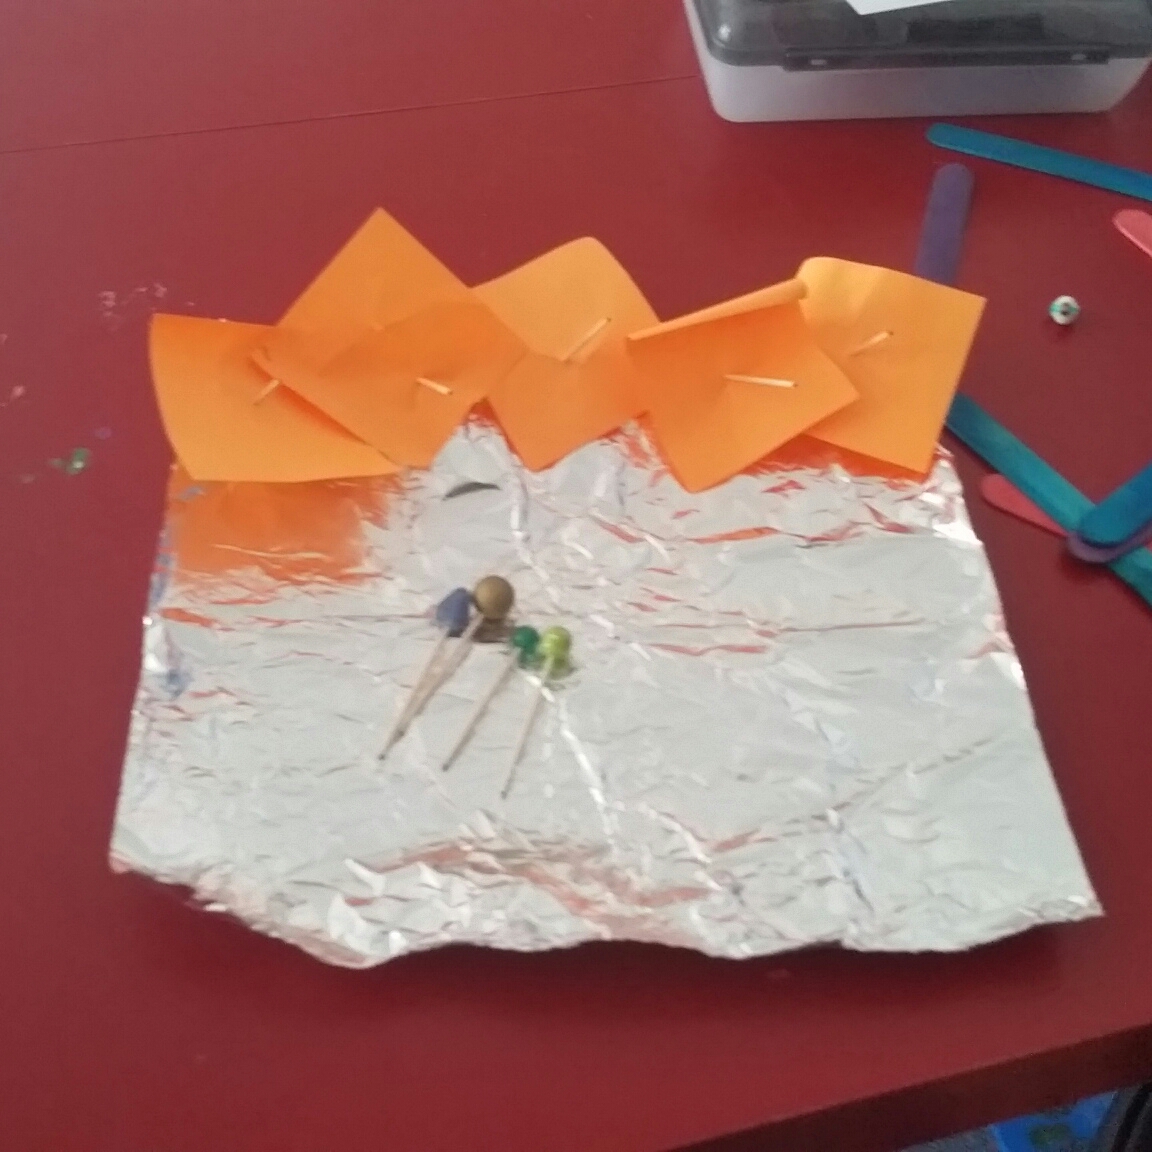
Jake used only the foil and popsicle sticks. He needed a little help, so Joe and I worked with him and built a little raft-like boat.

wp-1474393480490.jpg

They both had a lot of fun building it and Joe was quite proud of himself…as he should be!

I found this idea on Pinterest–that wonderful resource and terrible addiction.

It’s a STEAM (Science, Technology, Engineering, Art and Math) activity, a challenge to use multiple skills to build a boat that floats with only a few simple materials.

Although they didn’t realize it, they tapped into the majority of these skills with this activity.

Joe was using the scientific method to design and construct the boat. He knew it had to float so he bent the sides of the tin foil up so it wouldn’t take on water.

Although technology did not come into play with this activity, it could easily be modified to include documentation on the computer for recording findings and practicing keyboard skills.

He planned and constructed the boat using his engineering skills to create the boat out of the supplies at hand.

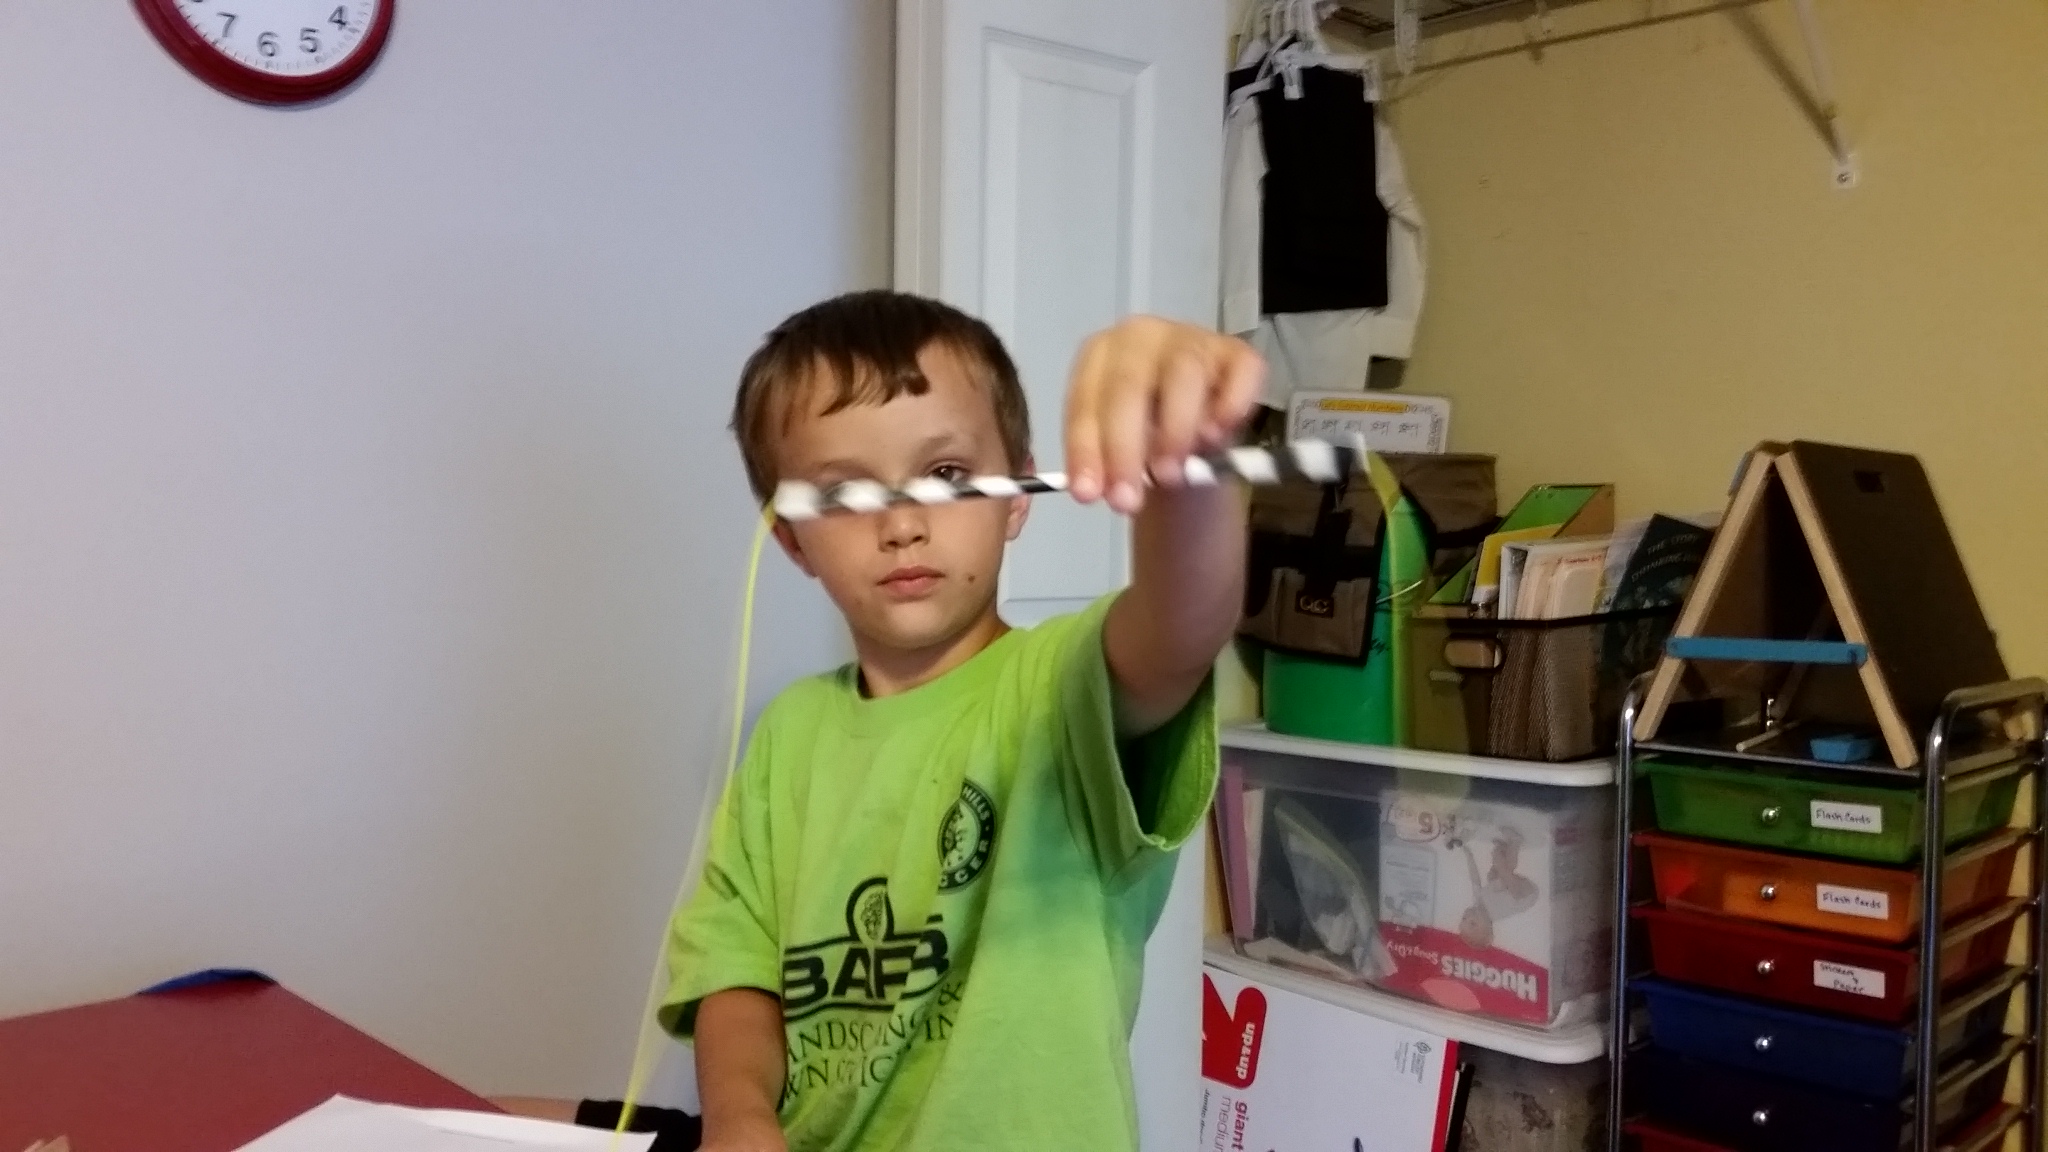
Using his art skills, he decorated his ship with beads on the end of toothpicks. He called these toothpick beads “mayflowers”.

wp-1474396823385.jpg

Finally, he used his math skills by forming lines and shapes to build the boat.

This project was designed for older kids, but I modified it to fit the boys’ age and ability level. Jake needed extra help, so Joe and I both assisted him…although Joe was frustrated that Jake kept trying to use the stapler.

“Jake! You can only use the things in front of you!”

Such a stickler for the rules…at least for this project.


Math Is Everywhere

Math was a struggle for me in school.

I did ok in Geometry. I took Algebra because it was required. I memorized and studied enough to pass the tests. I never took Calculus or any of the higher level courses…because I didn’t have to.

When I went to college, a general math course was a requirement. The class was in one of those huge auditoriums with at least 70 other students. I passed the class, barely…by studying for hours and memorizing without really ‘getting it’.

When it was over, I breathed a huge sigh of relief that I’d never have to take another math class EVER again.

Then we decided to homeschool and the prospect of teaching math…terrified me.

I tried to quell my fears by telling myself that Ray was good at math and he could handle the more difficult concepts. Or, that we could hire a tutor when it got too difficult.

All I’d have to do was teach them the basics.

But then I realized that I was copping out. If I’m not excited about or interested in math, how could I expect the boys to be? I don’t want to push my negative feelings about math on to their little shoulders.

I also realized that I’d be missing a golden opportunity…for myself.

By working and learning alongside the boys, I would get another chance to learn to love, or at least not loathe math.

After researching different curricula and talking with my homeschool mentor, we took the plunge and ordered the Alpha level of Math-U-See.

wp-1473716175801.jpg

What do I like about this curriculum?

The approach.

There is something for every learning style. There are videos for audio and visual learners and manipulatives and worksheets for hands-on learners.

The concepts are taught step-by-step: introduce, review, practice and master.

You don’t move on to the next concept until the student can teach it, demonstrating that they fully understand the logic behind it.

The mantra.

Build it. Write it. Say it. Teach it.

Joe loves being the teacher, so this may be perfect for him.

He loves telling people how to play a game-explaining the rules, demonstrating the play, praising the ‘student’ when they play the right way and repeating the rules when they don’t. Amazingly, he doesn’t get frustrated or hostile when he is teaching a new game to someone.

He loves showing me a new bug he found, telling me about where he found it, what it was doing and what it was eating.

wp-1473718342633.jpg

When I introduced our math lesson today, his eyes lit up when I told him he would be teaching Daddy what he learned. It made him more enthusiastic about the lesson.

The videos.

The set came with an instructor’s manual and a dvd along with the student workbook and test booklet.

The videos are wonderful. To prepare for the first lesson, I read the corresponding chapter in the instructor’s manual and watched the video for Lesson One. It was about 15 minutes long.

wp-1473716146653.jpg

The manipulatives.

The blocks that come with the set are a lot like legos. There are ‘units’, fives, tens…all the way to 100’s.

This morning, when we watched the video for Lesson One: Place Value, both boys immediately wanted to use the manipulatives to follow along. They were having so much fun!

Jake: Look Mom, two tens!

Joe: Let me do it by myself Mom. I’ll show you.

wp-1473716146654.jpg

We’ll spend time working on understanding place value over the next week or more. Joe will progress to Lesson 2 only when he understands and can teach Ray, Jake or me the concept.

Jake will progress only when he can teach Ray, Joe or me the concept. Each will work at his own pace.

And we’ll practice the concepts we learn everywhere we go.

Agile in the Classroom

Agile is a project management methodology used primarily for software development but can be applied to education…and life.

The manifesto is short and sweet.

Individuals and interactions over processes and tools
Working software over comprehensive documentation
Customer collaboration over contract negotiation
Responding to change over following a plan

Both parts are important and valued, but the ideas on the left take precedence over the ideas on the right.

In using agile for software development, the focus is on short phases, frequent reassessment and adaptation if needed.

These principles adapt perfectly to education and the learning process.

We learn math in a series of short phases. We don’t expect students to do complex math problems immediately after learning to count. We take it a step at a time, reassessing and adapting to learning styles and adding complexity with each step.

The same is true of language and reading. We start by learning the alphabet and move on to letter sounds. We add to each step, constantly reviewing, adapting to changes and reinforcing what has already been learned.

We gain confidence and ability through small successes and we learn to move quickly and adapt as needed.

We learn to be agile.

This is how we are designing our classroom.

Our mantra is learn, practice, apply, teach.

wp-1472482766470.jpg

Each notecard will be a small step toward a bigger goal.

Joe has mastered letters and letter sounds. He’s able to sound out most words so our focus is on sight words.

Jake knows his letters and can distinguish between most upper and lowercase so we are practicing tracing and identifying the difference between uppercase and lowercase.

Once we talk about the contents of each notecard, it moves to the “practice” column and then to “apply” with then teaching as the final step.

I have a box of notecards in priority order, but will also be able to “switch it up” based on their interests and remove and replace those they are not ready for.

Interested in ants today? Let’s ditch the book on bridges I’d planned on and learn all about ants. I’ll grab a blank notecard, jot down the change and remove the bridge card for another day.

This system will also allow me to look back and see what we’ve learned about and to show me that we are making progress.

wp-1472482766471.jpg


The Brooklyn Bridge: A Lesson in Suspension

Since May, the boys and I have been working our way through the 50 States using a great outline I pilfered from an awesome new friend.

At the start of every week, we get a magnet of the state we are going to study and a card with a few state facts. The materials for the day are left in a mailbox I bought at GoodWill, and the boys take turns checking it every morning.

This week, we are studying Vermont.

We fix food, do different activities and check out library books that pertain to each state.

The other day, we learned how maple syrup was made and how to identify the state tree of Vermont: the sugar maple.

wp-1472144942895.jpg

Last week, we were studying New York.

We studied the Statue of Liberty and did an experiment using salt, vinegar and a penny to answer the question: Why is the Statue of Liberty green?

We made a poster with the basics: state capitol, bird, flower, tree, nickname and a drawing of something the state is famous for to add to our wall of states we’ve already studied.

wp-1472144828735.jpg

wp-1472147302027.jpg

One morning, the boys found straws, clothespins, popsicle sticks and coloring sheet of the Brooklyn Bridge in the mailbox.

We watched a few YouTube videos to learn more: What kind of bridge is it? How long did it take to build? What was it used for?

wp-1471876406972.jpg

Then, I asked them if they thought they could build their very own suspension bridge. Using the materials left in the mailbox, as well as anything else they could find around the house, they got started.

Joe brought empty toilet paper rolls and elastic string to the table.

wp-1472145564171.jpg

Jake found some styrofoam and golf tees from our craft box to use.

wp-1472145564602.jpg

They made several types of bridges.

wp-1472145564169.jpg

Joe was excited to finally settle on his suspension bridge design using a popsicle stick, straws, golf tees and elastic string.

wp-1472145564181.jpg

He “suspended” it from the wall using tape and put one of his hot wheels cars on it to demonstrate how it worked.

wp-1472145564606.jpg

Then he made a tunnel using clothespins, string and a straw, so we talked a little bit about the Holland Tunnel. Joe was impressed that it went under water.

wp-1472145564171.jpg

They’ve both learned more about bridges and know now that there are different types and ways to build them.

wp-1471876406889.jpg

This project is fun and the boys love seeing what’s in the mailbox each morning.

Sometimes they wake me up, waving what they found and asking me what we are doing for the day.

Sometimes they aren’t too interested or excited about the activity of the day.

But, when I forget to put something in the mailbox, they are disappointed…and that makes me feel like I’m doing things right.