Category Archives: Permaculture

Vineyard Expansion

We’d always planned to expand the vineyard. Earlier this season, we planted a few more grapes and a few more hops. We were going to wait until next year to add more. That is, until we found the deal.

Ray’s mom called us and told us that Ace Hardware was having a 50% off sale on all plants and trees…she wanted to get us a tree for our tenth anniversary. We were on our way to drop the boys off before heading to Alaska, but we had a few hours yet, and went to take a peek.

There were a TON of plants, herbs and trees to choose from. The trees were much larger than those that we planted earlier in the year. We looked at the trees but couldn’t decide which one to get, so we started to walk around and see what kind of bushes and shrubs were on sale.

Then, I found them. The arguta kiwi. These are small grape sized fruit that are cold hardy and taste like kiwis.

kiwi

“You are not going to believe this!”

“What did you find?” Ray asked walking my way.

There were so many plants! They were bigger and cheaper than the ones we bought from the nursery: half off of $16.

“Eight bucks, Ray. EIGHT BUCKS!”

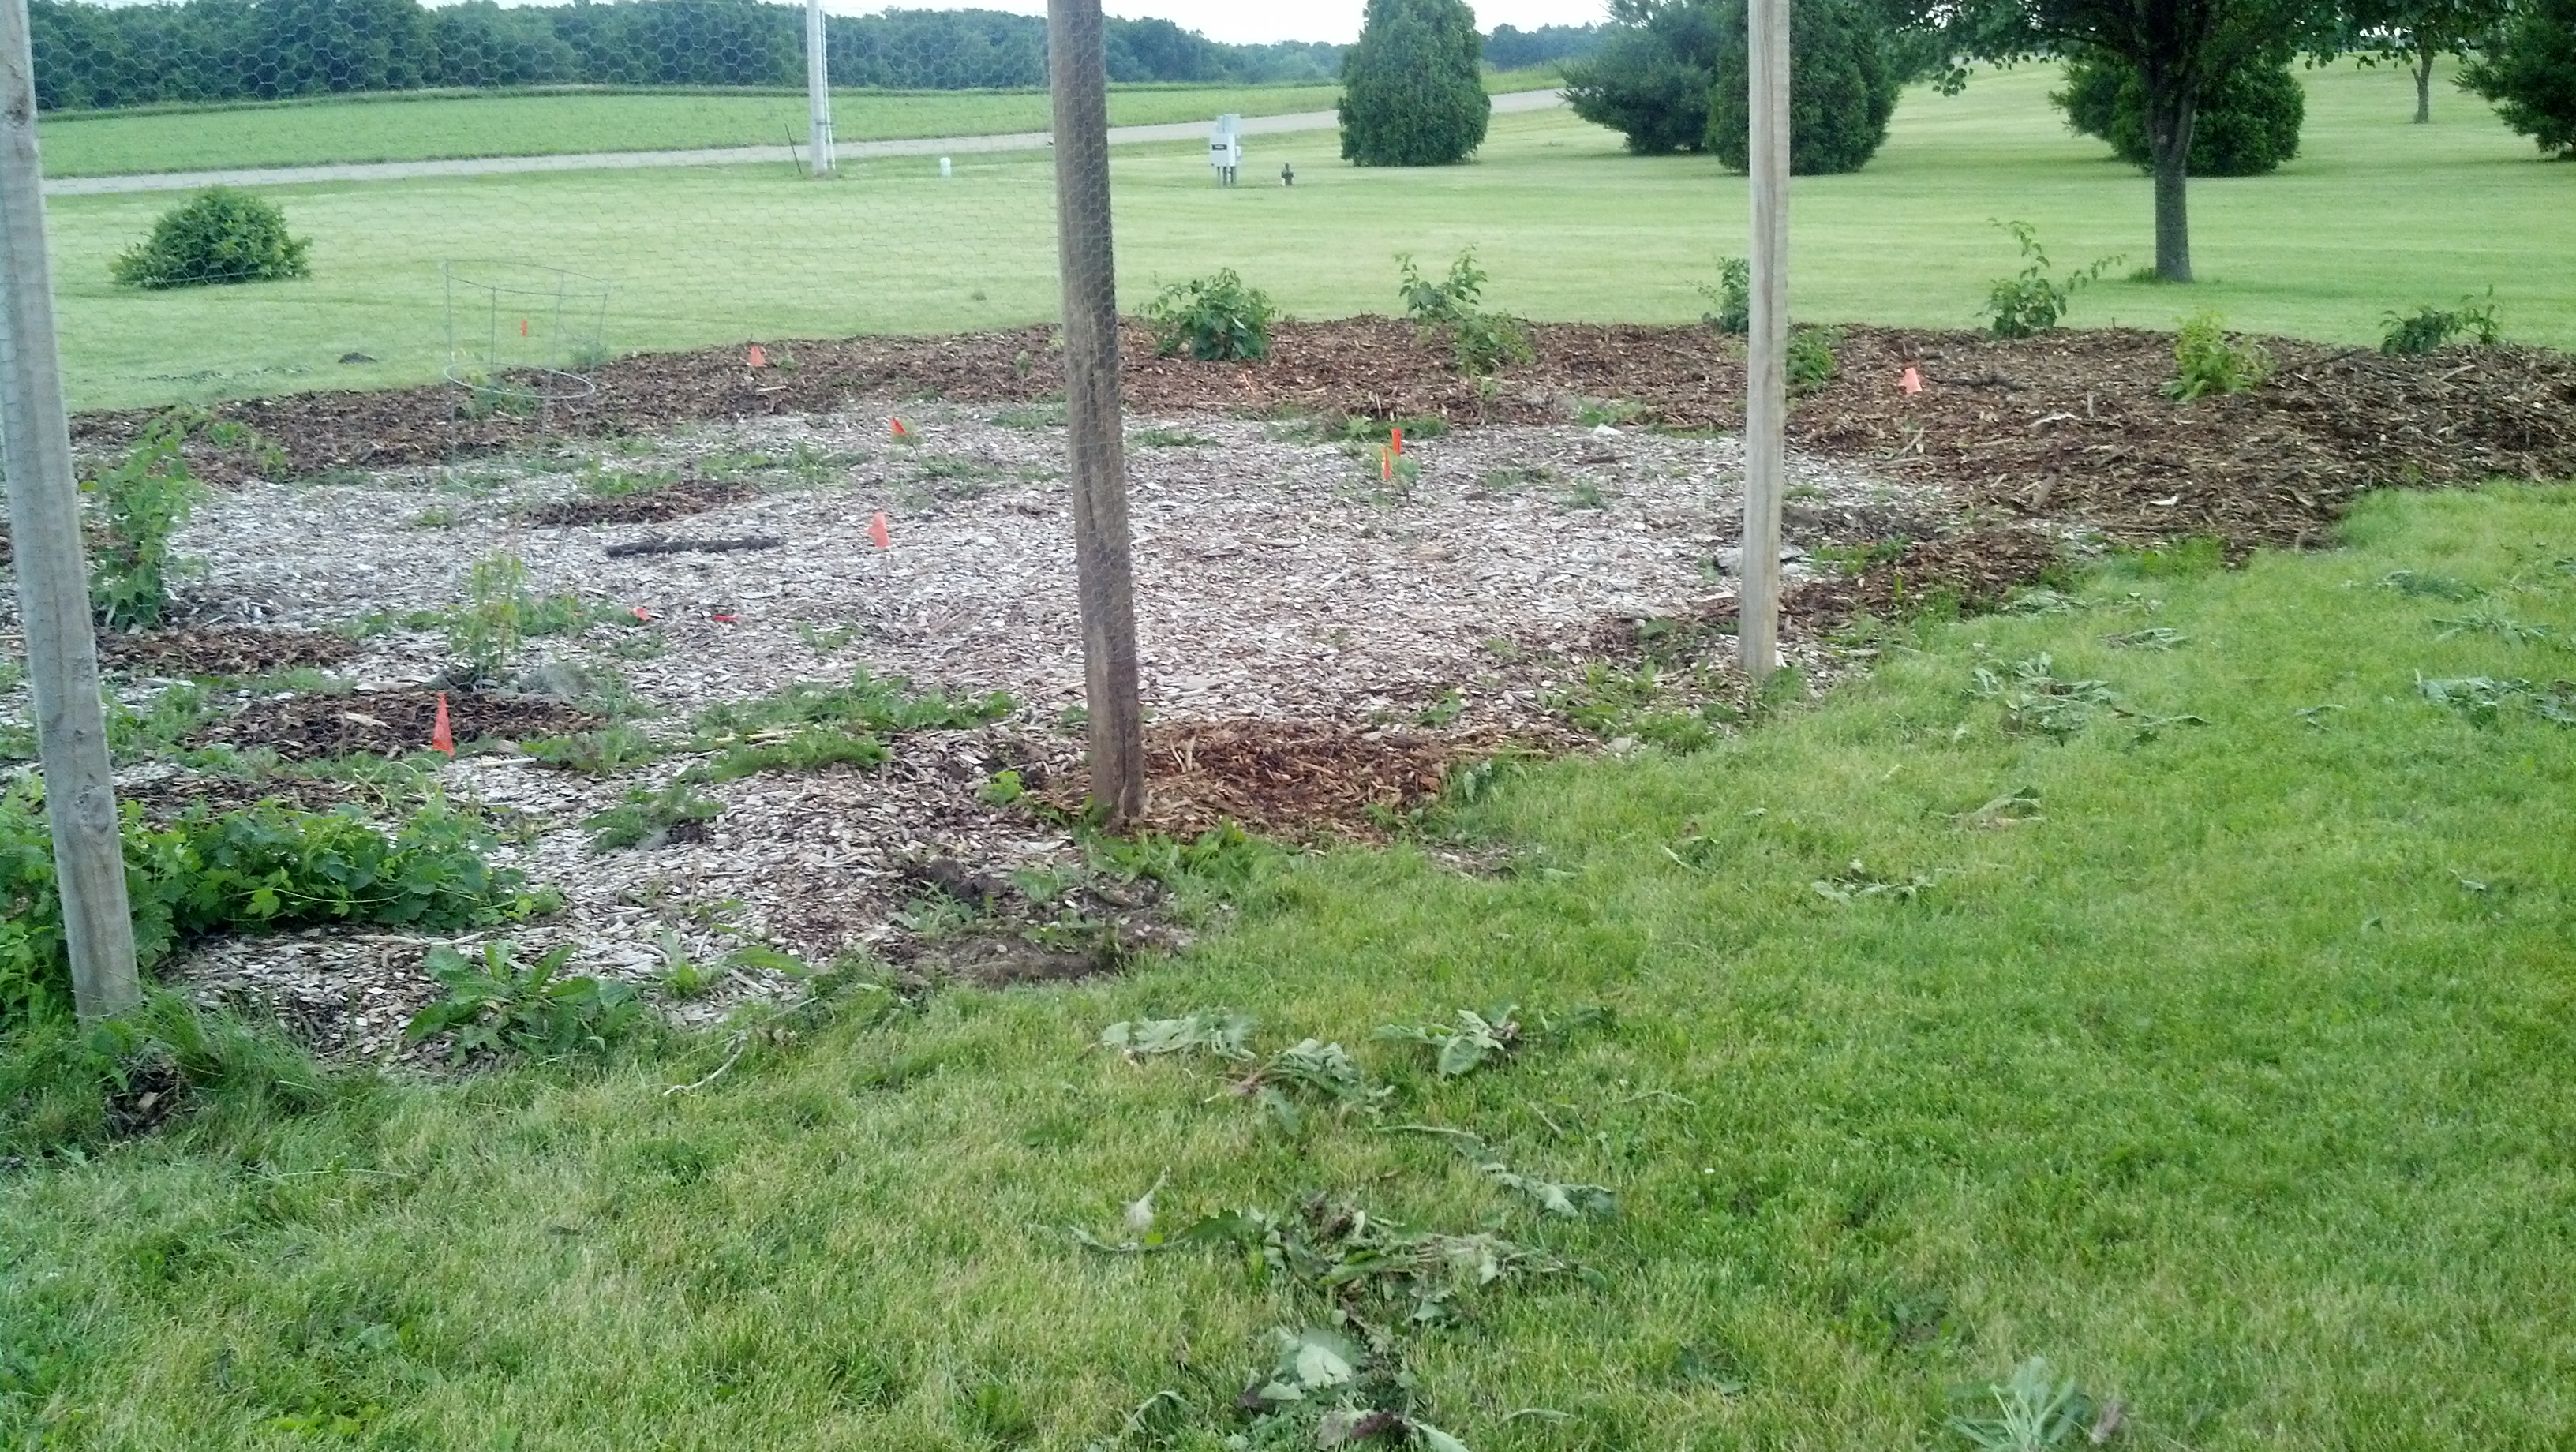
The male we planted the previous year was growing really slow. We needed both male and female plants for pollination, so we ended up getting three new males ten new females. We added two rows to the vineyard and filled in the row we planted last year with a couple of ladies.. Then, we had 9 yards of mulch delivered to retain moisture.

We spent our Saturday planting and spreading mulch.

wpid-img_20140621_200653_273.jpg wpid-img_20140621_200722_559.jpg

The boys also seemed to think it was pretty cool.

wpid-img_20140621_202604_189-1.jpg

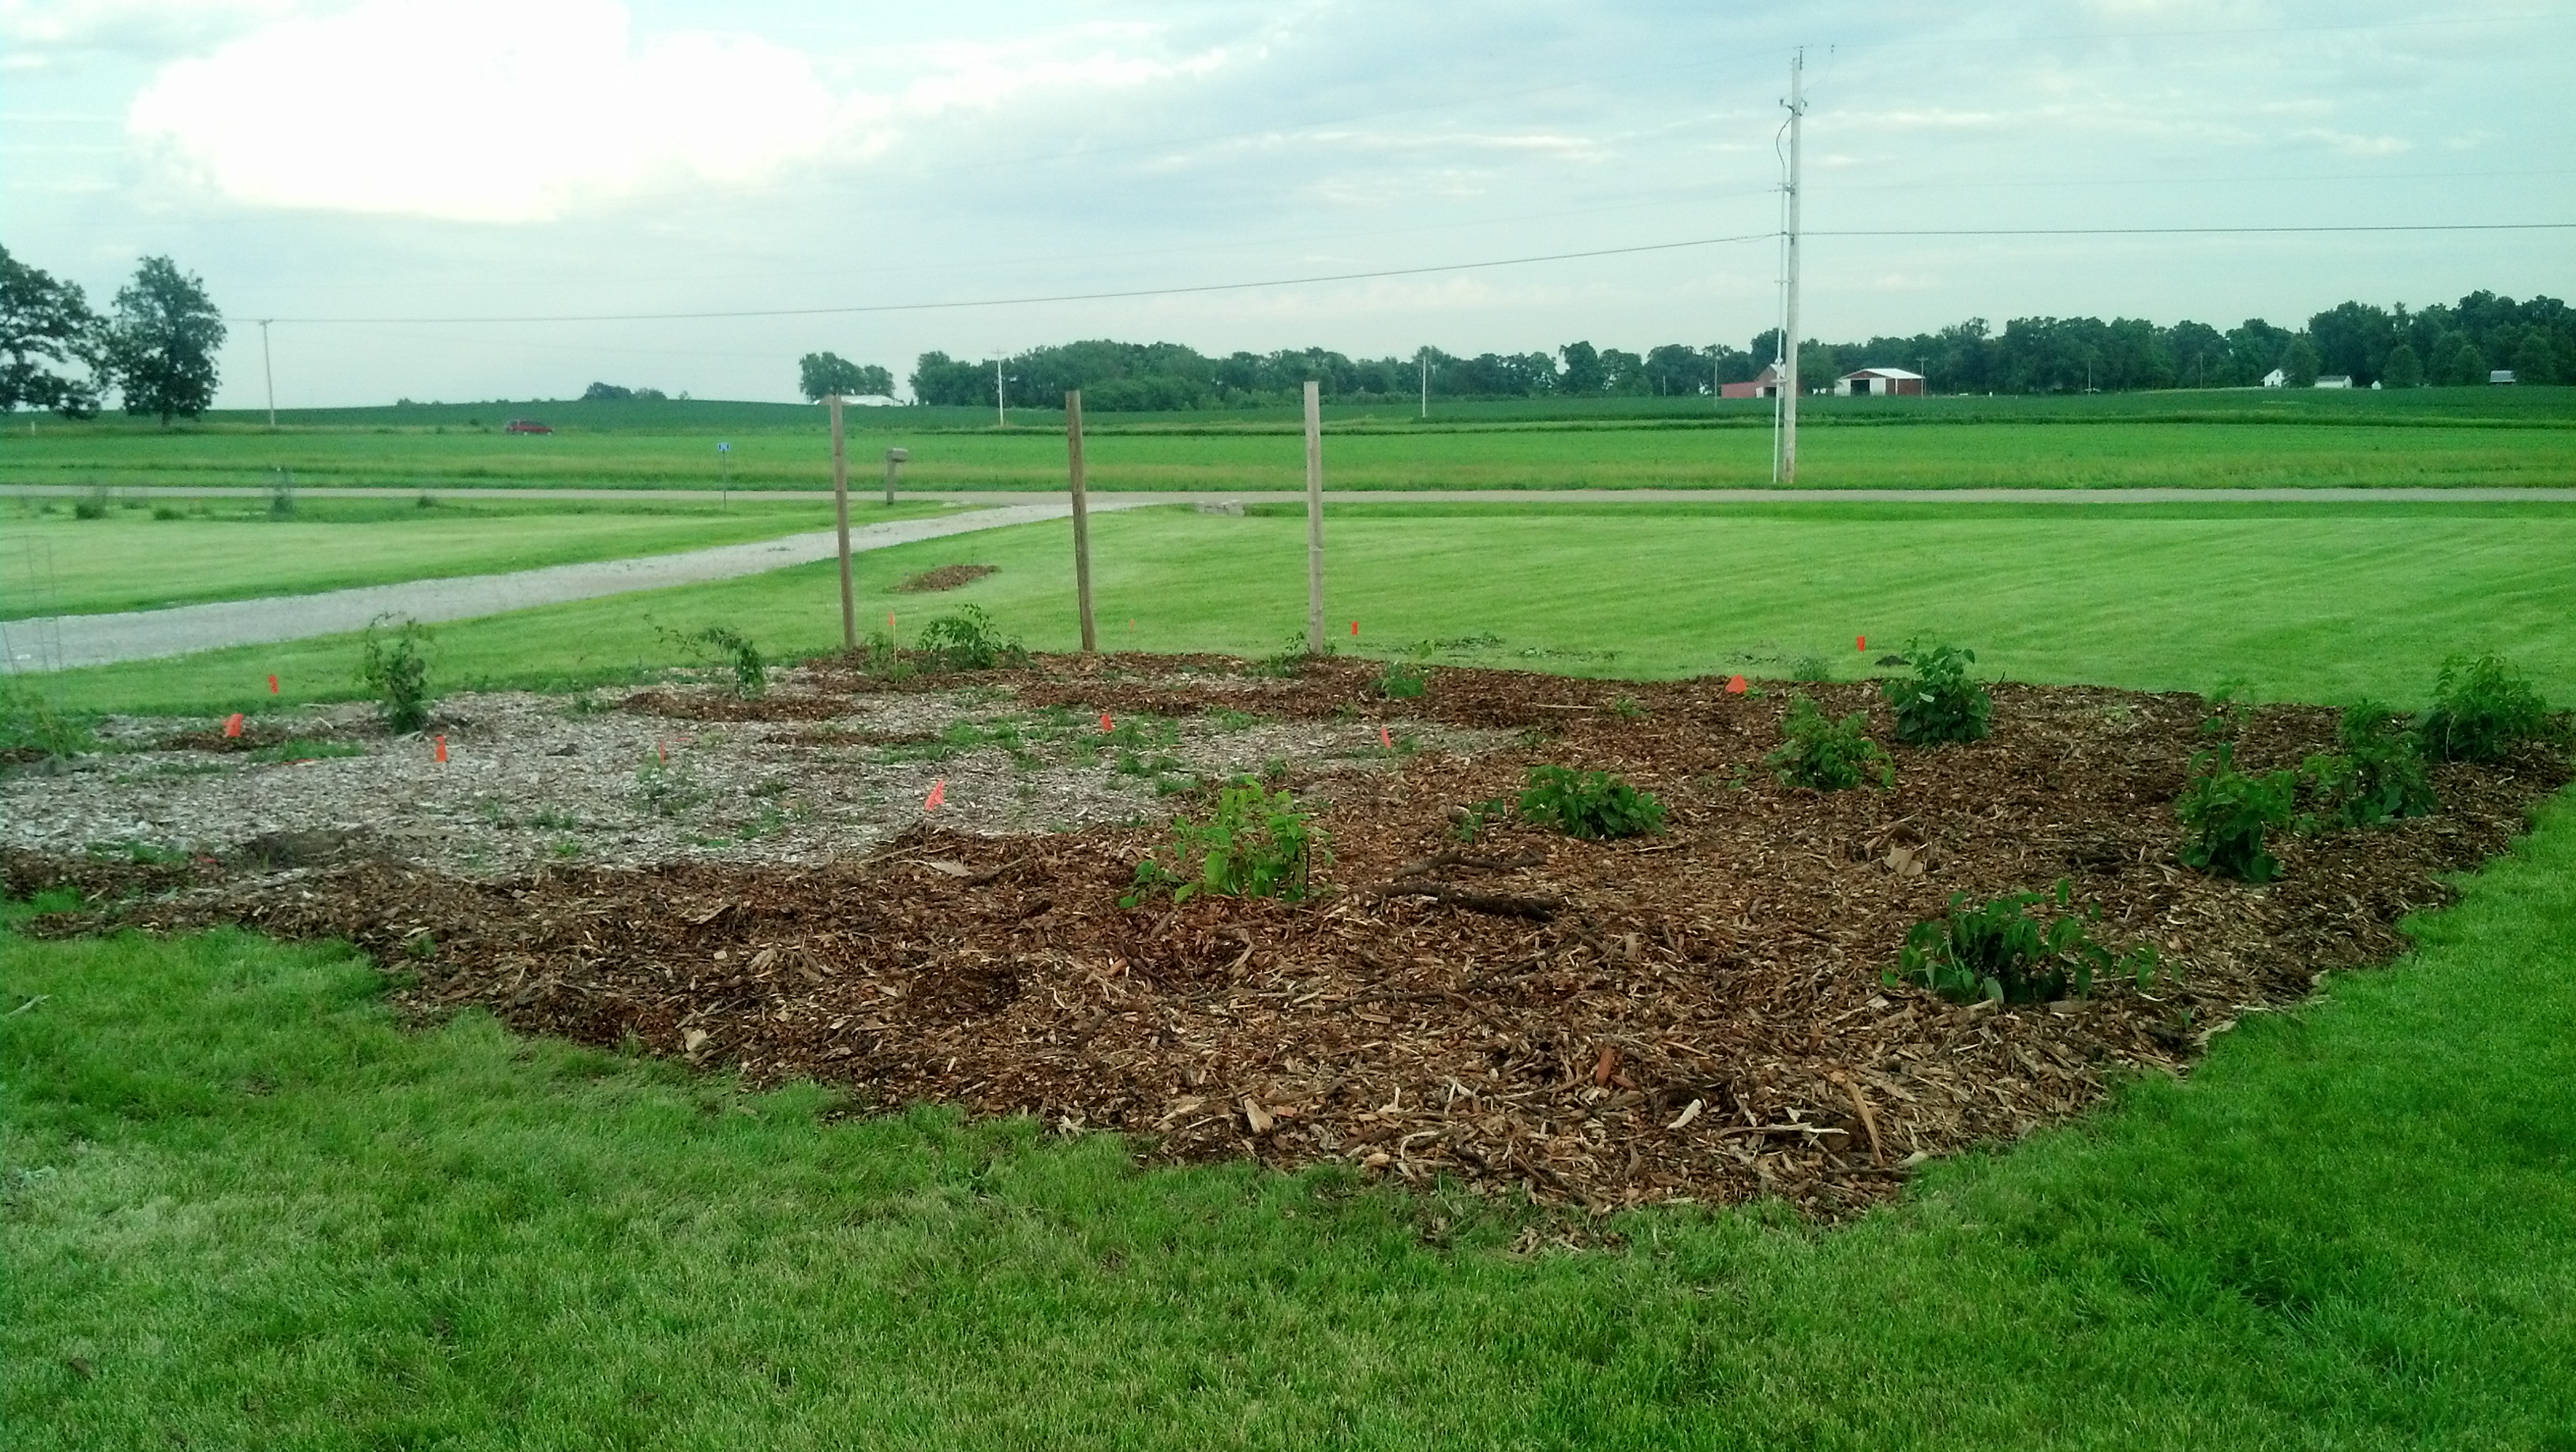
As we stood back and admired our work, I imagined the hops growing up the trellis and the grapes and the kiwi vining out and filling in all the empty spaces.

wpid-img_20140621_202624_571.jpg

I couldn’t help but think how beautiful it was and imagine how gorgeous it would be in the future.

A beautiful place
A shady spot to relax
A place to enjoy


Comfrey: A Haiku

Comfrey, where are you?
What made you so quickly go?
At least lupine grew
image

image

The Amazing Swale

Last week, 2 inches of rain fell in a matter of 4 hours. The next day, it rained another inch or so. Ray went out to check our swales

…and was amazed.

Every inch of both swales was holding water and the spillways were working as they should.

*UPDATE*

To provide a better frame of reference for the photos below, Ray walked the swale using an android app called Maverick.

Swale outline

Blue lines indicate the north and south swales. Trees are planted throughout.

IMG_20140608_114024_250

S side of S swale

IMG_20140608_115019_026

North swale

IMG_20140608_114423_636

South swale

IMG_20140608_114844_802

SE side of S swale

IMG_20140608_114616_341

SE side of S swale

IMG_20140608_114604_637

NE side of N swale

IMG_20140608_115824_454

NW side of N swale

IMG_20140608_115024_972

N swale

IMG_20140608_114817_849

Here we were supposed to put another spillway in, but I kind of like the “clean” edge.

IMG_20140608_115944_468

NW side of N swale

There are a few areas we need to adjust. We need to dig out the spillway on the north side a bit more. It worked as it should have, but needs to be just a little deeper and wider.

This is the only place we had standing water outside the swale. Ray told me that the yard was a bit soggy, but we did not have a moat or any standing water in the yard.

IMG_20140608_115529_785 IMG_20140608_115524_458

When I walked through it yesterday morning, I could not wipe the smile off of my face. All of that water that the swales were holding, feeding all of the trees we planted, could have been in our yard…a moat around our house.

Instead, we put systems in to harvest and use the rainwater for our perennial plants and to minimize erosion as much as possible. We are doing our best to repair the landscape and soil. We are growing a food forest that our boys will benefit from in the future and that we will all enjoy in the present.

Walking in the swale
Memories joyfully made
Playing in the mud

A Tale of Two Swales

Whirlwind does not even begin to describe the past two days. With a team ranging from novice to expert, we learned a great deal, and now have two gorgeous swales on our property.

Our first team member arrived by 8AM–a 7,500lb excavator with a 36″ bucket.

Ray and I worked with the team from Midwest Permaculture, Bill Wilson and his intern Matt, to mark out the contour lines for the first swale so that Hal, our excavator operator, could start digging.

We used a transit and stadia. Once we finished marking the first swale, we double checked the flags to make sure we were on the money.  A “measure twice, cut once” method.

image image

Next, it was time for Hal to break ground. We were using a 36″ bucket with no teeth in order to pack the ground down tightly once the earth was removed. It had rained a few days prior so the ground was soft without being soggy and fairly easy to work with.

The plan was to make a 5′ wide, 18″ deep swale with a sloped back end, so it was important for someone to work with Hal to get the depth and angle of the back cut just right.

image image

It was oddly thrilling watching the excavator tear up our back yard. It was almost like I had a birds eye view of the work. All I could think about was how  beautiful it was going to be 2, 5, 30 years down the road.

image

About midday we stopped for lunch and one of our younger team members came out to help operate the excavator.

image

image

Matt, Melissa, Hal and Bill (left to right)

At the start of the day we were looking at a plan to put three swales in. Once we actually started measuring, the number went up to five. We were able to clearly determine the contour lines of two but, with all the irregular dips and dives of our land, the other three seemed to change every time we used the stadia.

Ray, Bill and I were standing together watching the excavator progress. I was feeling overwhelmed by the sheer amount of work that was ahead of us and, as if reading my mind, Bill looked at me and said, “You know, a year in the life of a tree is nothing. You don’t have to do it all right now.”

He was right. Ray and I were so anxious to get the land working for us and to start repairing the landscape that we were ignoring our own little alarm bells, “Danger! Danger! You are taking on too much at one time!”

We were so ready to get started that we were forgetting to stand back and observe the land. We knew when we started that we wanted to put a swale or two in on the NE side of the property because we could see the water pool, collect and flow through it every time it rained, but we really don’t know much about the NW side.

So, we made the decision to wait until we had a chance to observe the NW side before making any concrete plans. We needed to be reminded to practice permaculture which means applying “thoughtful observation” rather than “thoughtless labor” to our design systems.

image

Now our first two swales are in and we have our work cut out for us. We plan to cover crop with inoculated dutch white clover and then plant trees, shrubs, etc on the south side of the berm. We have 35 trees coming, but with more than 1000ft of swale…we’re going to need a lot more than that.

In the mean time…we will be anxiously watching the forecast for that next torrential downpour so we can see just how awesome our new water catchment system is.


A Swale of a Tale: The Plan

We are excited. This year, we are going to dig our very first swale and plant fruit trees, nut trees and fruit bushes. A beautiful and edible forest right in our own back yard, perched atop a swale that will collect the rain that falls.

First, what is a swale? In a nutshell, a swale is a ditch on contour with the dirt piled on the downhill side to create a berm. Then trees, shrubs, etc are planted in the downhill side of the berm. The swale will allow us to catch rainwater and use it instead of watching it run straight off our property.

Below is an example of a typical swale. In addition to the producers (fruit, nut, etc) we will be planting support plants.

wpid-img_20140407_074554_438.jpg

Now, our property does a pretty good job of keeping a lot of rainwater. I’ve mentioned the moat in a previous post. Our fedge gets a pretty fair amount of rainwater and we have plans to plant little pockets of trees in other areas of the property where the water stands for a day or so after the rain. But, it could always do a better job and we plan to help it along a little bit with this swale.

Step 1: Survey the land using A-Frame level or transit
We made ours (as you can no doubt tell). A more accurate tool is a transit which is used to measure horizontal angles. Surveyors use them and over the years they have advanced quite a bit.

wpid-img_20140330_132558_781.jpg

Step 2: Hire excavator
This is the tricky part. The first excavator who came out and took a look at our plans basically told me that the neighbors would hate the way it looked and that we were pretty much just digging an ugly ditch. “Thank you for your opinion sir, we won’t be in touch.”

What he didn’t quite grasp was that we know that at first it will look a little odd, maybe even a bit unsightly, but we are planting long term perennial and edible trees and shrubs. He didn’t “get” that we will be keeping rainwater on our land and preventing at least a small amount of erosion. Would he have done the work? Sure. But his heart wouldn’t have been in it.

The second excavator who came out, while very nice, gave me an estimate that was 6 times what (in my opinion) the cost should be. “Thank you for the estimate sir, but we’ll have to pass.”

So what did we do next? We called Bill Wilson of Midwest Permaculture. He came out and took a look at our contour markings with a transit and, while we weren’t spot on, we were close. After chatting with him for awhile, we decided that we would have him out again, with an excavator he recommended, to install the swales.

The image below is Bill’s design of our property. The plan is to put in three swales with a long-term, down-the-road plan of adding a pond.

6 inch topo with Bill's design sketching

Step 3: Start digging!

Step 4: Plant into downhill side of berm
What are we going to plant? Oak trees, Almond, Walnut, Chestnut, Cherry, Apple, Pear, Hickory and anything else we can find on the cheap.

Step 4: Wait for the rain

The work starts bright and early on Wednesday and may continue into Thursday. We are planning for three swales per the above design, but we’ll have to see just how far we get.

Stay tuned for pictures and video!


Why We Do It This Way

We are so fortunate to have the space to explore a multitude of ways of gardening, homesteading…living. Here is a short list of why we choose to live the way we do. Why we choose to create this life for our family.

To enjoy our land.
To learn.
To try something different.
To breathe in and relax.
To amend our soil.
To make the land work for us.
To create a sustainable food source for our family.
To create beauty out of a seed.
To teach our children.
To connect to generations past.
To make a stand.
To show, not just tell.

Permaculture may seem “unconventional” and “new”, but it really isn’t. It is a guide to mimic nature without force. The three core ethics of permaculture: care of the earth, care of people and return of surplus, go far beyond gardening.

My Permaculture Design

Although I have not yet received feedback on my design, I thought I would share it to give a better understanding of what Permaculture is and how it can be applied. This is based on my understanding of Permaculture after having gone through the course. Once I receive feedback, I will share it.

DesignProject_Permaculture


Update! PDC Certificate Received

I am officially a certified Permaculture consultant. 🙂

image

Permaculture Design Course (PDC) – Complete!

A few months ago, I shared my jitters and doubts about signing up for an online PDC taught by Geoff Lawton in the post Permaculture Design Course: A Rambling Confession. In this post, I rambled on about my nerves, my worries that I couldn’t (or wouldn’t) keep up with the coursework…that I would give up.

Well I didn’t give up. Sure, I had a few moments of despair and cried to Ray that I should never have signed up for the course, that I couldn’t understand certain principles and concepts, that I never would “get it”. But, he calmly reassured me and told me that learning this stuff takes time and that no one would get it on the first go around. I would have to study continuously and put the concepts into practice to truly understand. In my frantic state, I had forgotten that the best way to truly learn is by doing.

So, below is a drawing of my design.

IMG_20130923_214222_915

I won’t pretend I know or completely understand everything about Permaculture. This drawing is not as “fancy” as some of them I have seen and my report is far from professional. But, I will say I that my knowledge and understanding of Permaculture has grown by taking this course, and I will be able to confidently implement what I have learned on our property…and I’m excited to get started.

Stay tuned for a follow up post after I have received feedback on my design and I will share my final report as well!

The Truth About Thistles: A Permaculture Revelation

Since May, I have been watching videos for my online permaculture design course (PDC). It’s a slow process with the busy-ness of summer, but I am about halfway through and the design deadline has been pushed back to the end of September. Whew!

There are two dvds dedicated to soil. TWO! When I saw that I thought I would surely fall asleep during those videos, but the “life” of soil is strangely fascinating. Especially fascinating to me was the video I watched last night on pH. Geoff Lawton, the professor of the course, was making a “supermarket” analogy to explain soil pH.

He drew a birds-eye view of a supermarket. Each aisle was a mineral or nutrient: Zinc, phosphate, potassium, nitrogen, copper and iron. The shoppers were all of the plants that need different nutrients. As all of the plants crowded in to shop for what they needed, the aisles got blocked so that all of the plants were not able to get in and get what they needed.

Enter the thistle.

Now, we have an abundance of thistles. I’m constantly pulling, cutting and cursing them. So naturally, my ears perked up even more.

The thistle loves acidic soil, or soil rich in copper and iron. Wait. What? We have very alkaline soil, how is it we have so many thistles? Wait for it.

The thistle has a deep tap root so it can dig down much farther than the other plants, weeds, etc. So when the store aisles are blocked and the plants that need iron and copper can’t get it, the thistle knows another way in the store.

It’s not necessarily that the soil is deficient in iron and copper, maybe they are just being blocked out. The thistle, knowing all the secret pathways, can dig down past the block and find the iron and copper and bring it on up to the top of the soil

Does this mean we should just let thistles run rampant on our property? No, that would lead to too much of a good thing. The key, I’m learning, is balance. Soil is a living being that needs tended to just as much as the plants in your garden.

The answer? Chop and drop and compost…removing seed heads of course.

There are other problems with our soil and other areas where it needs to be repaired and amended, but I am a little relieved to find a relatively easy answer to our acidity problem.