Category Archives: 13 Skills

Laying Boxes

Laying boxes are now installed. Such a simple, yet important addition to the coop.

IMG_20140701_192917_627

There are three laying boxes on each side of the coop. According to several backyard chicken blogs, the rule of thumb is 1 laying box per 2-3 hens. Ray said the girls clucked at him when they went in to inspect.

wpid-img_20140702_094038_884.jpg wpid-img_20140702_094054_217.jpg

The boxes are in
Now we must wait patiently
For the hens to lay


The Amazing Swale

Last week, 2 inches of rain fell in a matter of 4 hours. The next day, it rained another inch or so. Ray went out to check our swales

…and was amazed.

Every inch of both swales was holding water and the spillways were working as they should.

*UPDATE*

To provide a better frame of reference for the photos below, Ray walked the swale using an android app called Maverick.

Swale outline

Blue lines indicate the north and south swales. Trees are planted throughout.

IMG_20140608_114024_250

S side of S swale

IMG_20140608_115019_026

North swale

IMG_20140608_114423_636

South swale

IMG_20140608_114844_802

SE side of S swale

IMG_20140608_114616_341

SE side of S swale

IMG_20140608_114604_637

NE side of N swale

IMG_20140608_115824_454

NW side of N swale

IMG_20140608_115024_972

N swale

IMG_20140608_114817_849

Here we were supposed to put another spillway in, but I kind of like the “clean” edge.

IMG_20140608_115944_468

NW side of N swale

There are a few areas we need to adjust. We need to dig out the spillway on the north side a bit more. It worked as it should have, but needs to be just a little deeper and wider.

This is the only place we had standing water outside the swale. Ray told me that the yard was a bit soggy, but we did not have a moat or any standing water in the yard.

IMG_20140608_115529_785 IMG_20140608_115524_458

When I walked through it yesterday morning, I could not wipe the smile off of my face. All of that water that the swales were holding, feeding all of the trees we planted, could have been in our yard…a moat around our house.

Instead, we put systems in to harvest and use the rainwater for our perennial plants and to minimize erosion as much as possible. We are doing our best to repair the landscape and soil. We are growing a food forest that our boys will benefit from in the future and that we will all enjoy in the present.

Walking in the swale
Memories joyfully made
Playing in the mud

13 and 14 Status: Half-way Point

Time for an update on the status of my 13 Skills in 2014.

1. Sewing – The only thing I have done with this skill is hem a curtain we bought for our sliding glass door. It’s a little uneven and the fact that I used white thread (because that was what was already in the bobbin) is embarrassing, but at least you can’t really see the hem and it is functional.
image

2. Auto Upkeep – No update.

3. Firearm Training – No update.

4. Wilderness Skills – I’ve reached out to friends to see if they would want to come and camp in our backyard too. That’s about as far as I’ve gotten on this one. We will probably set a date for sometime in August or September.

5. Teaching – I attended a homeschool convention and I learned quite a bit. One big realization I had–lesson plans and curriculums are great to have, but I want to be careful not to just have “school, at home”. Meaning that I don’t want to mimic classroom education. I want the boys to be able to learn by experience, get outside, go to the museum, park, zoo, etc.

I’ll still have goals and a plan for the year, but I also want to be flexible and be able to change the plan on the go. I think it important to “finish what you started” but I also think it’s important to course correct along the way. I stuck to what I started in college, even though by the end of my second year I felt in my gut that teaching in a classroom was not for me…was not my calling.

It took me 10 years to get back to what I really wanted. To write. True, the journey back helped shape who I am today and to learn that regrets are a part of life. But, I think by showing my boys it’s ok to adapt and improvise “the plan”, they will learn that it is ok to listen to their gut.

I have the design for the learning and supply space I want to put in the basement, but that is really the extent of my progress. The swale took priority.

6. Reloading – No update.

7. Health and Fitness – The battle against laziness continues. I really need to find some motivation to get this one going.

8. Raising Chickens – Now this is one we have really tackled with full force. The coop chateau is built, the watering system just about complete and the playpen is shaded. All we have left to do for this year is to finish up the watering system, put in the automatic feeder and install the laying boxes–and possibly get the solar panel installed and working. COMPLETE
image

9. Bee Keeping – After attending the beekeeping seminar, we have decided to push this one back. There is a lot of up-front work so maybe in a couple of years we will be ready for this one. COMPLETE

10. Gardening – Our first swale has been installed, actually we dug two. The summer garden is planned and I’m almost done planting and I’m getting ready to plan the fall garden. COMPLETE

11. Archery – No update.

12. Blogging – Although I have not yet started learning about ways to enhance and promote my blog, I do feel that I am gaining followers and views every day. I would like to watch 5 Minutes With Jack to learn about more ways to gaining relationships and, possibly sponsors.

13. Canning – Still planning to do a lot of fall canning.

And that is that. So far we’ve completed 3 skills and another 3 are in progress leaving 7 that we have not started…but we are thinking about them so I hope that counts for something.

A Tale of Two Swales

Whirlwind does not even begin to describe the past two days. With a team ranging from novice to expert, we learned a great deal, and now have two gorgeous swales on our property.

Our first team member arrived by 8AM–a 7,500lb excavator with a 36″ bucket.

Ray and I worked with the team from Midwest Permaculture, Bill Wilson and his intern Matt, to mark out the contour lines for the first swale so that Hal, our excavator operator, could start digging.

We used a transit and stadia. Once we finished marking the first swale, we double checked the flags to make sure we were on the money.  A “measure twice, cut once” method.

image image

Next, it was time for Hal to break ground. We were using a 36″ bucket with no teeth in order to pack the ground down tightly once the earth was removed. It had rained a few days prior so the ground was soft without being soggy and fairly easy to work with.

The plan was to make a 5′ wide, 18″ deep swale with a sloped back end, so it was important for someone to work with Hal to get the depth and angle of the back cut just right.

image image

It was oddly thrilling watching the excavator tear up our back yard. It was almost like I had a birds eye view of the work. All I could think about was how  beautiful it was going to be 2, 5, 30 years down the road.

image

About midday we stopped for lunch and one of our younger team members came out to help operate the excavator.

image

image

Matt, Melissa, Hal and Bill (left to right)

At the start of the day we were looking at a plan to put three swales in. Once we actually started measuring, the number went up to five. We were able to clearly determine the contour lines of two but, with all the irregular dips and dives of our land, the other three seemed to change every time we used the stadia.

Ray, Bill and I were standing together watching the excavator progress. I was feeling overwhelmed by the sheer amount of work that was ahead of us and, as if reading my mind, Bill looked at me and said, “You know, a year in the life of a tree is nothing. You don’t have to do it all right now.”

He was right. Ray and I were so anxious to get the land working for us and to start repairing the landscape that we were ignoring our own little alarm bells, “Danger! Danger! You are taking on too much at one time!”

We were so ready to get started that we were forgetting to stand back and observe the land. We knew when we started that we wanted to put a swale or two in on the NE side of the property because we could see the water pool, collect and flow through it every time it rained, but we really don’t know much about the NW side.

So, we made the decision to wait until we had a chance to observe the NW side before making any concrete plans. We needed to be reminded to practice permaculture which means applying “thoughtful observation” rather than “thoughtless labor” to our design systems.

image

Now our first two swales are in and we have our work cut out for us. We plan to cover crop with inoculated dutch white clover and then plant trees, shrubs, etc on the south side of the berm. We have 35 trees coming, but with more than 1000ft of swale…we’re going to need a lot more than that.

In the mean time…we will be anxiously watching the forecast for that next torrential downpour so we can see just how awesome our new water catchment system is.


A Swale of a Tale: The Plan

We are excited. This year, we are going to dig our very first swale and plant fruit trees, nut trees and fruit bushes. A beautiful and edible forest right in our own back yard, perched atop a swale that will collect the rain that falls.

First, what is a swale? In a nutshell, a swale is a ditch on contour with the dirt piled on the downhill side to create a berm. Then trees, shrubs, etc are planted in the downhill side of the berm. The swale will allow us to catch rainwater and use it instead of watching it run straight off our property.

Below is an example of a typical swale. In addition to the producers (fruit, nut, etc) we will be planting support plants.

wpid-img_20140407_074554_438.jpg

Now, our property does a pretty good job of keeping a lot of rainwater. I’ve mentioned the moat in a previous post. Our fedge gets a pretty fair amount of rainwater and we have plans to plant little pockets of trees in other areas of the property where the water stands for a day or so after the rain. But, it could always do a better job and we plan to help it along a little bit with this swale.

Step 1: Survey the land using A-Frame level or transit
We made ours (as you can no doubt tell). A more accurate tool is a transit which is used to measure horizontal angles. Surveyors use them and over the years they have advanced quite a bit.

wpid-img_20140330_132558_781.jpg

Step 2: Hire excavator
This is the tricky part. The first excavator who came out and took a look at our plans basically told me that the neighbors would hate the way it looked and that we were pretty much just digging an ugly ditch. “Thank you for your opinion sir, we won’t be in touch.”

What he didn’t quite grasp was that we know that at first it will look a little odd, maybe even a bit unsightly, but we are planting long term perennial and edible trees and shrubs. He didn’t “get” that we will be keeping rainwater on our land and preventing at least a small amount of erosion. Would he have done the work? Sure. But his heart wouldn’t have been in it.

The second excavator who came out, while very nice, gave me an estimate that was 6 times what (in my opinion) the cost should be. “Thank you for the estimate sir, but we’ll have to pass.”

So what did we do next? We called Bill Wilson of Midwest Permaculture. He came out and took a look at our contour markings with a transit and, while we weren’t spot on, we were close. After chatting with him for awhile, we decided that we would have him out again, with an excavator he recommended, to install the swales.

The image below is Bill’s design of our property. The plan is to put in three swales with a long-term, down-the-road plan of adding a pond.

6 inch topo with Bill's design sketching

Step 3: Start digging!

Step 4: Plant into downhill side of berm
What are we going to plant? Oak trees, Almond, Walnut, Chestnut, Cherry, Apple, Pear, Hickory and anything else we can find on the cheap.

Step 4: Wait for the rain

The work starts bright and early on Wednesday and may continue into Thursday. We are planning for three swales per the above design, but we’ll have to see just how far we get.

Stay tuned for pictures and video!


The Pullet with a Personality

This Rhode Island Red is my absolute favorite! She is always “glaring” at me or whoever dares disturb the peace of the flock, and she’ll brazenly stand up on the food trough and squawk louder than the rest. It’s hysterical!

All 10 birds are still thriving and I am getting more and more excited and anxious to get them out on the land. It’s time for them to earn their keep!

Esther’s Haiku
There once was a chick
Who grew into a pullet
Her name was Esther

image

Feel free to comment with your best caption for this photo!

Coop Construction Stage 1: The Playpen

Stage one of our coop construction is now complete. We wanted to get their “playpen” built first so we could start letting them outside for a few hours a day to start scratching and preparing the soil for our plantings.

image image

In the beginning, we were going to build the pen out of wood, but then we found a website with detailed instructions on building a PVC pipe pen. We priced out both wood and PVC and found the cost to be comparable so we opted for the easier route: PVC.

image

Once the frame was built, Ray’s dad wrapped it with chicken wire while Ray worked on a hinged lid on the top. This will make it easier to move, feed and water the chickens.

image

Then we put the pen to the test and put the chickens in. At first they were a little freaked and just huddled together

image image

But once they got used to the ‘freedom’, they started clucking, scratching and pecking.

image

Since we get some wicked wind pretty much year round, Ray put a removable cap on one of the pipes with a drain on another so that we could pump water in to weight it down.

imageIt’s pretty easy to move around and it doesn’t take much to get the chickens to get out of the way. We let them explore their new playpen for a few hours today and then put them back in their box in the garage. It’s supposed to get cold tonight and there is no cover or laying box for them to hide in.

Tomorrow it is supposed to get up in the low 60’s so we’ll let them out again in the afternoon and see how they like it. We’ll put them to work in the vineyard and see how long it takes them to scratch up and fertilize the ground.

Once we find a trailer, we’ll start on stage 2: the hen house.

We also introduced our Pekingese to them and, just as I suspected, his initial aloof attitude was just an act. He ran around and around the pen whimpering with his tail wagging in excitement. We’ll have to watch him with the girls, they could tear him up!


The Scoop on the Coop

Our chickens are growing…fast. We’ve put the plans for their permanent home into high gear so we can have it all ready for them once the weather (finally) turns.

image

While it would have been nice, free range was never in our plans. There are just too many coyotes, hawks and other predators that frequent our backyard.

But, we also do not want them to stay in one spot all the time. Not only would it destroy the ground and soil, but just think how bored they would get! No, we need them to be “on the move” so that our soil and garden can benefit from their scratches and generous supply of “compost”.

This is why we are planning a chicken tractor.

Ray drew up the plans this weekend. We did a google image search and hodge podged ideas from a few different set-ups together to create a plan for, what we feel, is the perfect chicken tractor.

image

Basically, the bottom will be open to the ground so that the chickens can do their thing with the soil-scratch, peck, pull out bugs, etc. There will be a few roosting boxes, some perches, a waterer and feeder inside the caged area.

On the back there will be a water tank that we will set up to automatically fill a pvc pipe set-up with nipples for the chickens to wet their whistles. The slanted roof will catch rainwater to refill the tank.

The roosting boxes will have an easy access door so we can get in and grab the eggs each day, and there will be a box to store their feed.

There will be a handle on the front so we can pull it around the yard once or twice a day. We will probable pull it up by the house each night just in case a crafty raccoon gets any ideas.

The plan is to start construction in the next two weekends to have it ready by the time the weather gets warmer. Stay tuned for another post on the construction!

The Bee’s Knees

One of the 13 new skills we want to learn about this year is keeping and caring for bees to benefit the garden as well as produce a little honey for us to enjoy.

wpid-IMG950644.jpg

My husband and I recently took a course for beginning beekeepers. We signed up for the seminar, dropped the kiddos with a friend and went on our “date”.

Even though we don’t plan to start keeping bees for a year or two, we were both looking forward to this course. We sat in the front row and I had my notebook and pen ready. The first speaker started with “A lot of work goes into keeping bees…you’re looking at about 20 hours a year.”

I glanced at Ray thinking, that’s all? That’s nothing!

Eight hours and 15 pages of notes later, Ray and I felt overwhelmed with all of the information. As we walked to the car I said “That sounds like a heck of a lot more than 20 hours a year!”

We had no idea that so much went in to keeping bees, and we couldn’t have imagined all of the pests that could damage or even destroy the hive. We were both suffering from information overload.

Before the seminar, we thought that there wouldn’t be much to do beyond building a couple of hives, buying some bees, occasionally feeding them and protecting them in the winter. Now we know better.

This experience has not scared us away from keeping bees. It has actually made us even more excited about it. Every speaker talked about how fascinating bees are…and after listening for 8 hours…I believe it.

So I am going to write a series of posts sharing what I learned at the seminar. Mainly, I am doing this for myself to get a better understanding of the material, and to stay excited about eventually taking this on.

Did I mention I took 15 pages of notes?

Bee Biology
The opening slide of the first presentation challenged all I had learned watching Bee Movie, the animated adventure of Barry B. Benson voiced by Jerry Seinfeld. Prepare yourself for a shock.

We learned that there are three types of bees: worker bees, drones and the Queen. Before this seminar, I thought drones and workers were the same.

The worker bees are the ones who fly out and collect pollen and nectar. They make up about 85% of the hive. Bee Movie got one thing right, once the worker bees sting, they die. But they got one big thing wrong: there are no male worker bees. They are all female.

I could go on and write a whole post on how upsetting it is that a kid’s movie about bees completely misrepresented the bee community portraying most, if not all, of the worker bees male. I don’t think they could have missed that important distinction when researching bee behavior…but I digress.

The drones make up about 15% of the hive, are all male and their only purpose is the feed, groom and take care of the Queen.

They do not have any ability to gather pollen and if there is no Queen present, they will eat the entire hive without rebuilding or returning anything.

And now the Queen. She is the only female with complete reproductive organs. Beekeepers usually mark her with a distinct color so that it is easy to find her at a glance. If the paint or mark gets on the head or abdomen, the drones will not recognize her as their Queen and they will kill her. Yikes!

Preparing to Keep Bees
If you are going to keep bees, the first thing you should do is check your state and local regulations. I have to say, I am a little surprised that there are regulations. I’m sure the bees in the wild don’t know about these regulations, and if they do…I’m positive they don’t follow them.

Regulations should be posted in your state’s ag website. At least in IL, you are required to register your hives.

Once you do that, you can start researching and constructing or purchasing your hive. A few things to keep in mind:

-Location should be accessible throughout the year.
-Location should have full sun in the morning and partial shade in the afternoon with a SE facing opening and wind breaks at the rear.
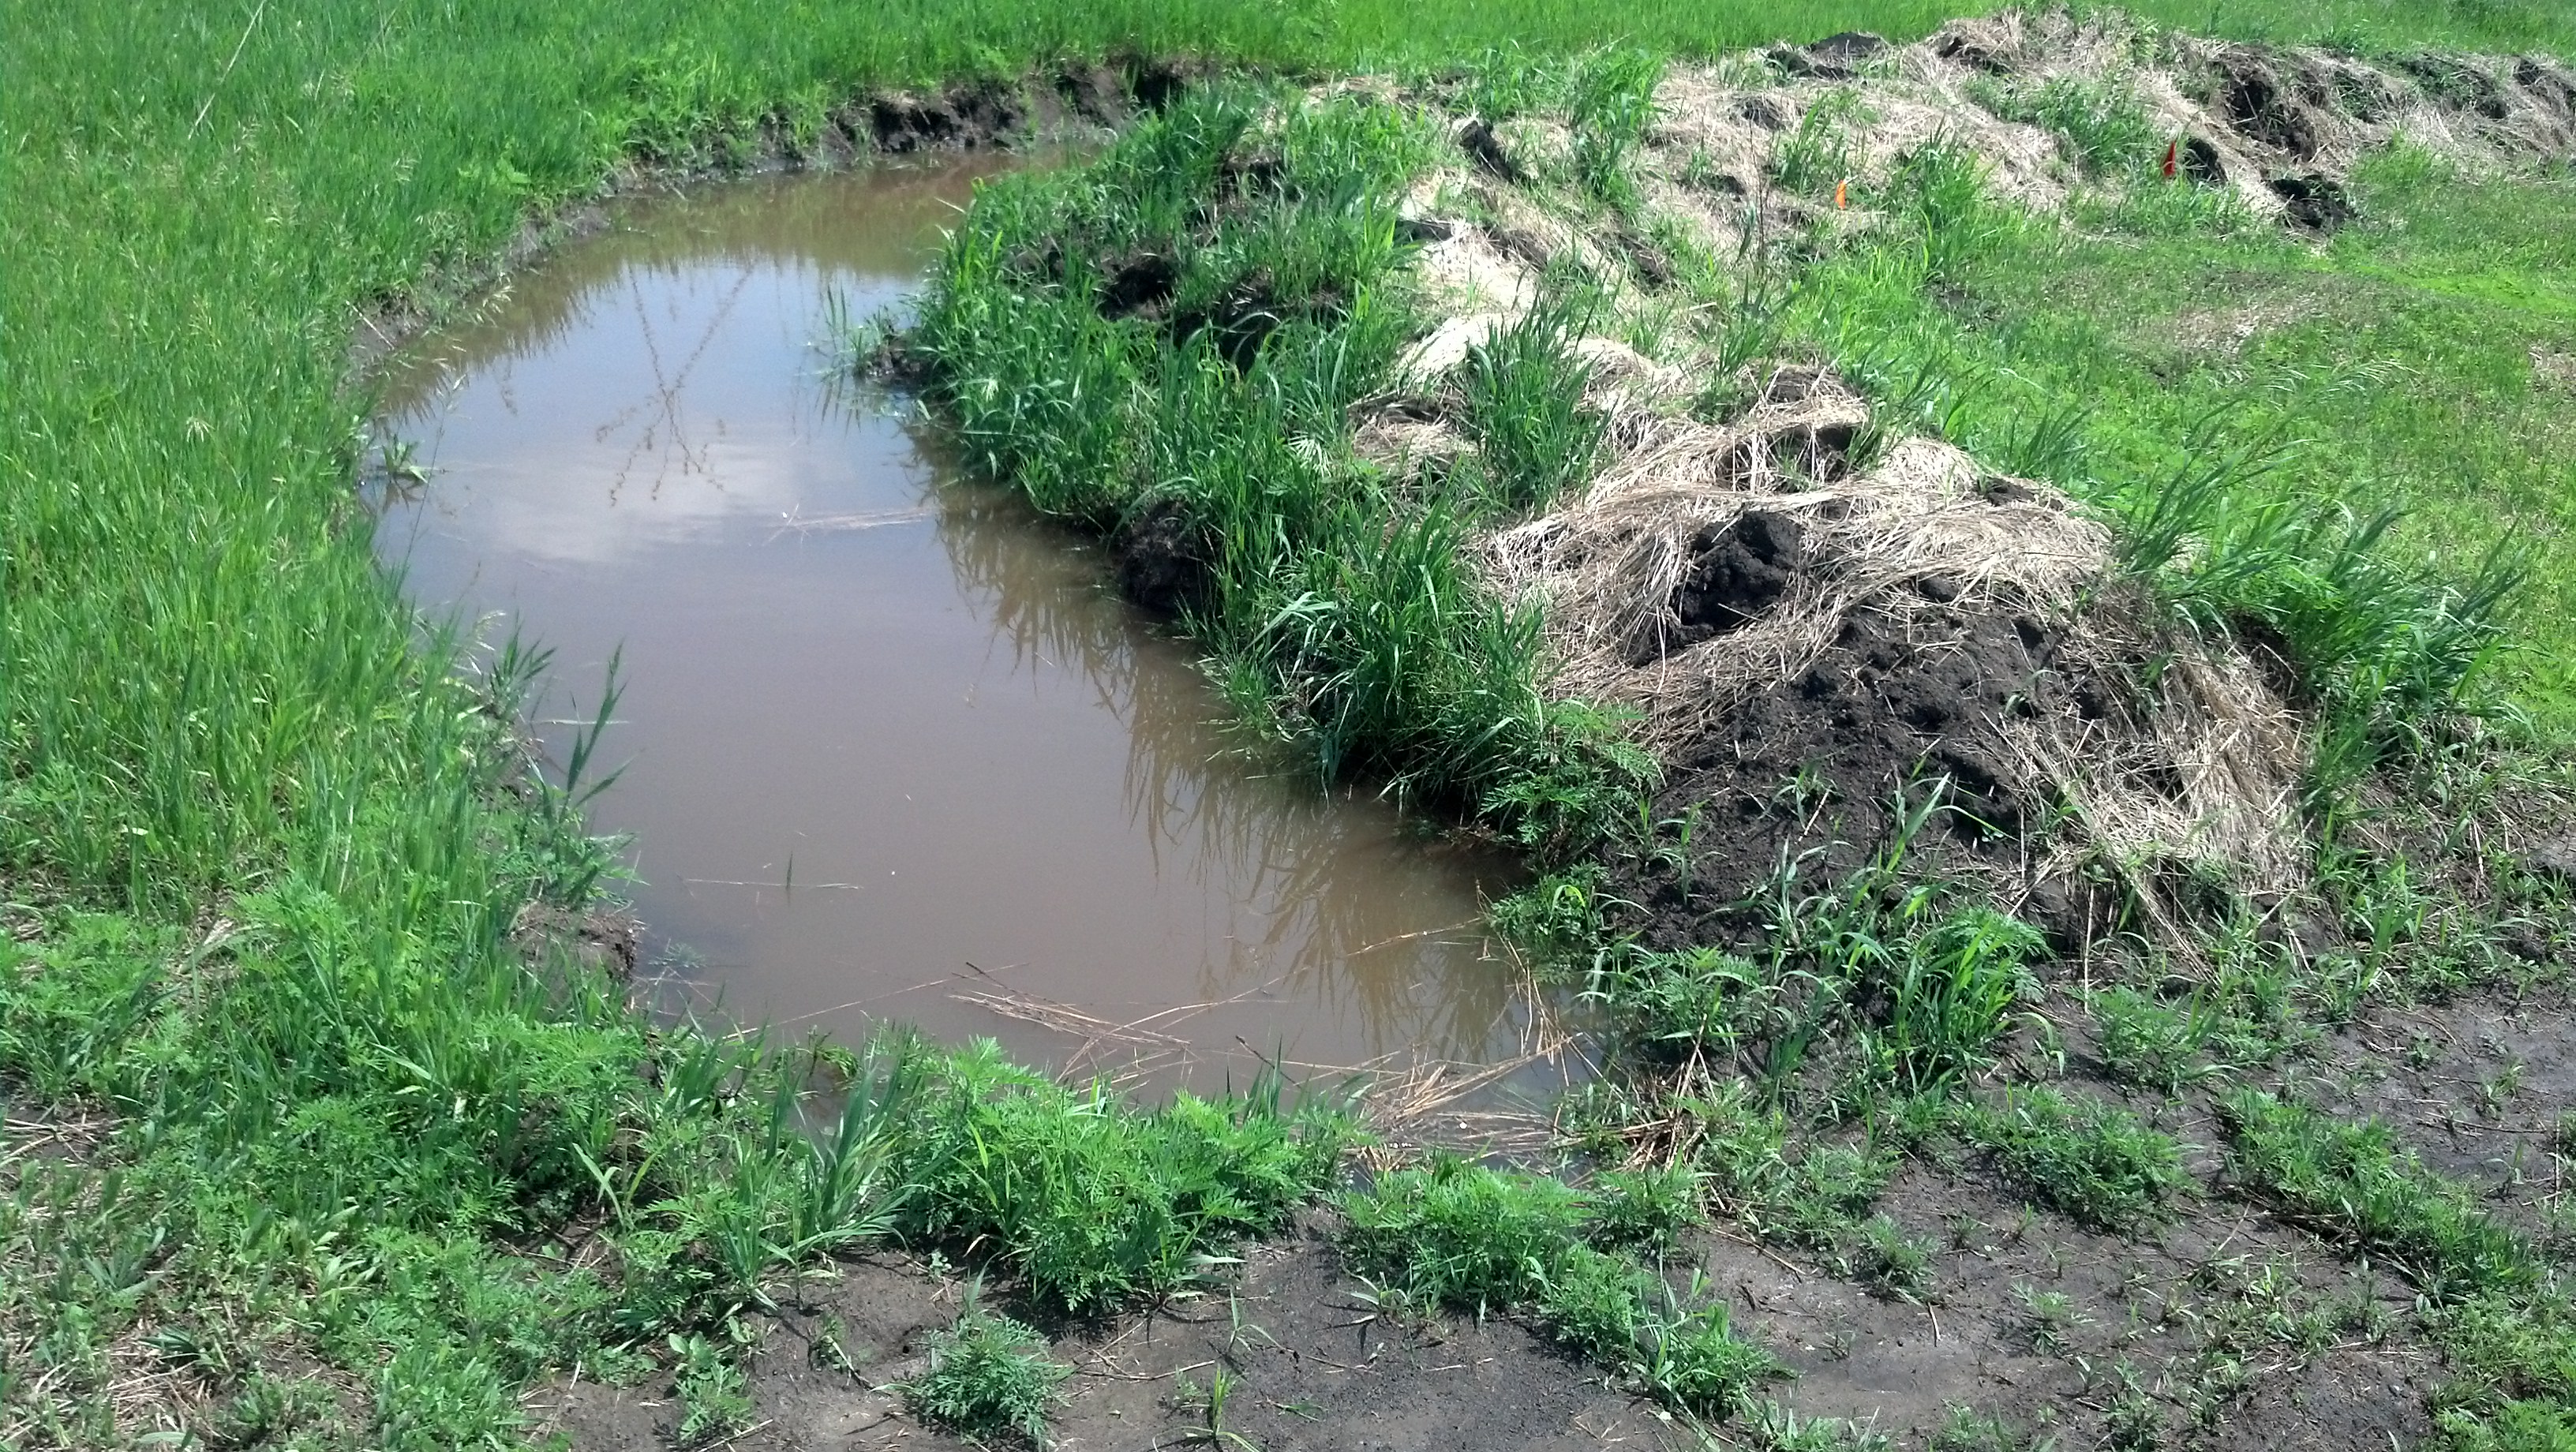
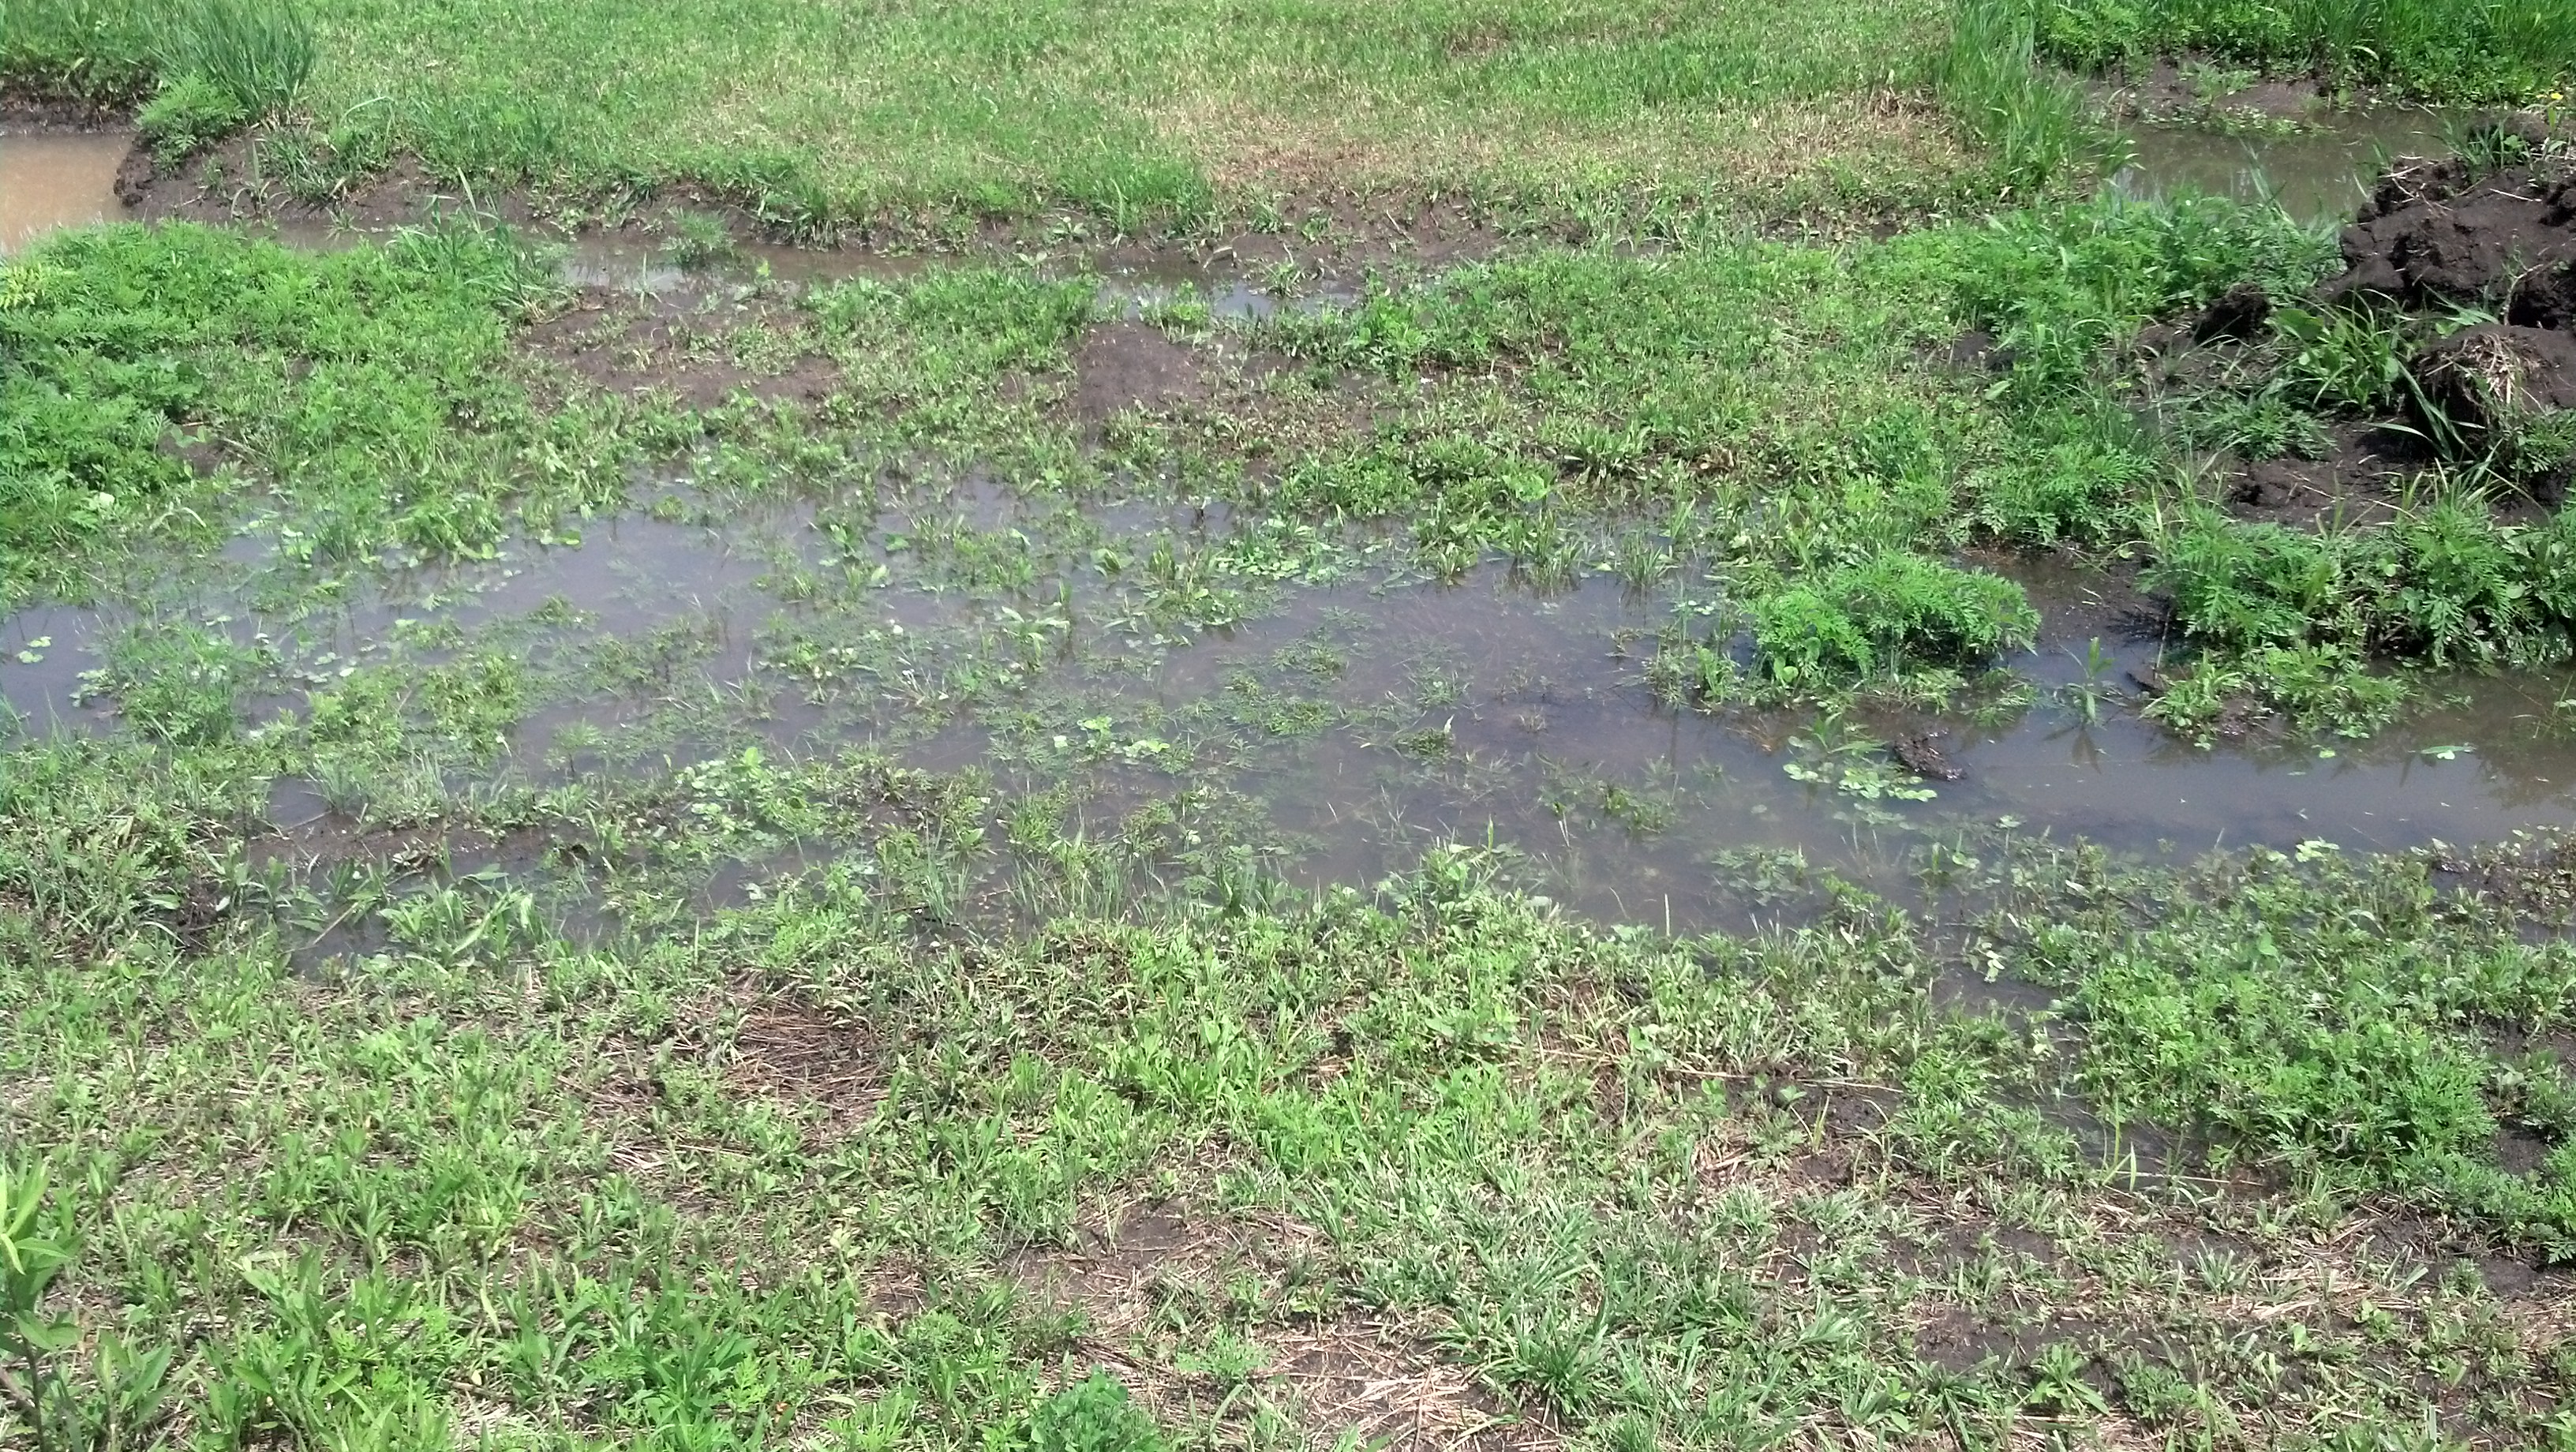
-There needs to be water access near the hive. It’s important to have a source on your property so that the bees don’t head for the neighbor’s pool or decide to swarm and live with someone else. A 5 gallon bucket with hardware cloth, a water garden with plants or a chicken waterer with pea gravel would all work great.
-The hive should not be directly on the ground and should be slightly tilted to allow rainwater drainage.
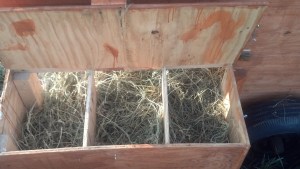
-There should be a wind block and winter protection. Pallets, hay bales or bushes all would work well.

In addition to just talking to people who already keep bees and joining online forums, the speaker also recommended doing additional research and these sources were provided.

Beekeeping for Dummies
Kelley Beekeeping
Bee Source

That is a summary of what we went over in the first presentation. Stay tuned for more posts on what we learned at the seminar!

Sewing Lessons

Last year, in an effort to cram something in my “sewing” skill goal, I created a seat sack. I found the idea on Pinterest. It looked easy enough.

After a few attempts and considerable frustration, the “seat sack” was finished and quickly downgraded to a plastic grocery sack holder. Sadly, it was not even sturdy enough to remain in that role for very long.

This year, I am determined to add sewing (at least basic sewing) to my list of skills. Yesterday, my grandma took a look at my handiwork to see where it had all gone wrong.

We looked at the seams and I showed her the tutorial for the seat sack. She helped me re-do it so that it is sturdy and useful.  It took awhile because every time I would sit at the machine to follow Grandma’s instructions, the thread would tangle in the machine or the perfect seam I was sewing would suddenly become a ridiculous curve on the fabric. Obviously, the sewing machine did not like me.

Eventually, it was finished, and while not perfect, it is sturdy enough to hold file folders and other papers…keeping the desk area (somewhat) cleared.

wpid-IMG_20140211_151008_552.jpg

After finishing the project I discovered a few things about myself.

1. I can’t sew a straight line.
2. I am impatient with things I do not fully understand.
3. I am intimidated by inanimate objects.

Fortunately, all three of these hurdles can be overcome through practice, patience and sewing lessons from Grandma.

I have plenty of scrap fabric to practice my stitching on, and I hope to master (or at least get better at) threading the bobbin and sewing a seam. But, getting comfortable and familiar with my machine is my top priority.